Painted cabinets chip when surface contamination prevents proper primer adhesion, incomplete curing leaves coatings mechanically weak, and humidity fluctuations cause substrate expansion that fractures paint films. We’ve found that thorough degreasing with TSP, applying material-specific primers (shellac for wood, adhesion primers for laminate), using hybrid resin topcoats, and allowing full 30-day cure times dramatically reduce failure rates. Controlling kitchen humidity between 35-40% and installing soft-close hinges minimizes stress on vulnerable edges. The following sections detail the precise preparation protocols and environmental controls that extend cabinet finishes from 3-5 years to 8-15 years.
Key Takeaways
- Surface contamination and improper cleaning cause poor paint adhesion, leading to premature chipping and cabinet failure.
- Inadequate curing leaves paint soft and vulnerable; allow 30 days for latex and 7 days for oil-based paints.
- Low-quality paints lack chemical resistance and molecular bonding necessary for durable, chip-resistant finishes on cabinets.
- Cabinet edges experience constant mechanical stress; install soft-close hinges and edge protectors to prevent chipping.
- High humidity and temperature extremes prevent proper curing, causing paint films to crack, peel, and chip prematurely.
Surface Contamination: The Hidden Enemy of Paint Adhesion
When cabinets fail prematurely, surface contamination typically underlies the problem—not paint quality or application technique. We’re battling invisible enemies: grease residue that’s penetrated the wood grain, silicone films from household cleaners causing fish-eye defects, and hand oils creating barriers to molecular adhesion.
Effective contamination identification requires methodical inspection before any mechanical prep begins. We apply industrial-grade degreasers or TSP to break down these interfering layers, then verify removal through wipe testing.
Thorough rinsing after chemical cleaning eliminates soap films that compromise bonding. We allow complete drying and use moisture meters to confirm readiness. Multiple cleaning phases guarantee we’ve eliminated every contaminant that could create weak points under daily stress.
The Critical Role of Proper Sanding and Scuffing
While surface contamination creates invisible barriers to adhesion, improper sanding generates visible failure patterns that compromise cabinet longevity from day one. We’ve identified that uniform sanding patterns are non-negotiable—orbital sanders moving top-to-bottom create consistent scratch profiles that anchor primer mechanically.
Uniform sanding patterns are non-negotiable—consistent scratch profiles anchor primer mechanically and prevent visible failure patterns that compromise cabinet longevity.
Factory finishes demand 180-220 grit to penetrate clear coats without bare wood exposure, which causes uneven absorption and blotchy finishes.
Laminate requires controlled scuffing; aggressive sanding breaches the substrate, causing delamination. We always hand-sand decorative elements and edges after machine work, ensuring complete profile coverage. The critical distinction: sanding removes gloss and creates tooth, while over-sanding creates valleys where paint pools and chips under stress.
Between coats, 220-320 grit scuff sanding eliminates nibs and promotes inter-coat bonding that prevents film separation during cabinet use.
Choosing the Right Primer for Your Cabinet Material
Perfect sanding creates the mechanical foundation, but primer chemistry determines whether paint forms a molecular bond or simply sits atop your cabinets waiting to fail. Evaluating proper primer characteristics starts with identifying suitable primer types for your substrate:
- Wood cabinets require shellac or oil-based primers like Zinsser BIN to block tannin bleed-through and establish superior adhesion
- Laminate surfaces demand specialized adhesion primers such as INSL-X Stix that chemically grip non-porous materials
- MDF substrates need water-based formulations like Benjamin Moore Fresh Start acrylic to prevent moisture-induced edge swelling
- Previously finished cabinets benefit from alkyd primers that penetrate existing coatings without extensive sanding
We’re matching molecular chemistry to surface characteristics—not just applying random primers. This targeted approach eliminates the primary failure point between substrate and topcoat.
Why Cabinet Paint Quality Matters More Than You Think
We’ve seen countless cabinet failures that trace directly back to low-quality paint formulations lacking proper resin content and chemical resistance. Standard wall paints simply can’t withstand the constant exposure to cleaning products, grease, and moisture that cabinets endure daily.
That’s why we specify chemical-resistant, cabinet-grade formulations that maintain their integrity through thousands of heat cycles and aggressive cleaning regimens.
Low-Quality Paint Failures
Because low-quality paints fundamentally lack the molecular bonding required for cabinet durability, they’ll chip within 4-6 months under normal door-closing stress—a failure we see repeatedly in kitchens where homeowners chose trim paints over cabinet-specific formulations. These adhesion failure risks stem from formulations that can’t withstand the unique demands of cabinetry.
We’ve identified critical weaknesses in inferior paint products:
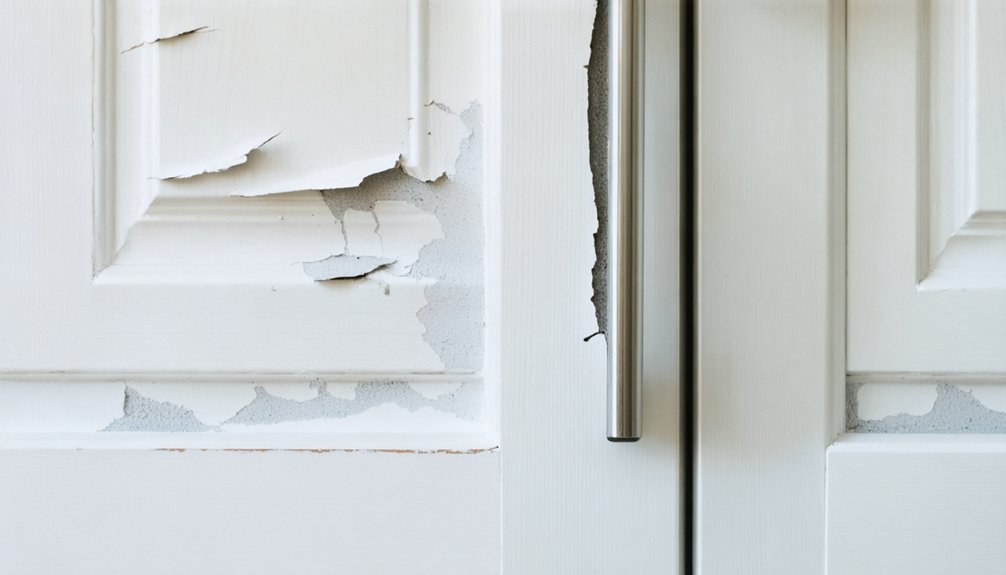
- Grease penetration: Cooking vapors create microscopic contamination that prevents molecular bonding, causing sheet peeling in humid conditions
- Thermal cycling: Temperature fluctuations induce expansion-contraction stress that exposes bonding deficiencies
- Moisture vulnerability: Daily humidity from dishwashing softens paint films, accelerating delamination
- Chemical degradation: Kitchen cleaners and oils break down weak formulations faster than cabinet-grade alternatives
Understanding these moisture and environmental stress factors helps us specify appropriate products for long-term performance.
Chemical-Resistant Formulations Required
Kitchen cabinets endure chemical exposure that most painted surfaces never face—grease splatter, citrus-based cleaners, vinegar solutions, ammonia compounds, and alcohol-containing products create a hostile environment that degrades standard latex paints within months. We need formulations engineered for this reality.
Hybrid resin technologies deliver molecular-level protection by creating cross-linked polymer networks that penetrate surface pores while resisting acids, alkalis, and solvents. Systems like CRYLCOAT® hybrid 50:50 resins combine chemical resistance with durability necessary for daily kitchen operations.
Non isocyanate polyurethanes eliminate hazardous off-gassing while maintaining superior resistance to organic caustic fluids, fuel, and hydraulic oils. These advanced formulations achieve KCMA 9.4 compliance, scoring 4s and 5s against ketchup, coffee, and wine—proving performance under real-world kitchen conditions without compromising air quality.
How Humidity and Temperature Affect Paint Durability
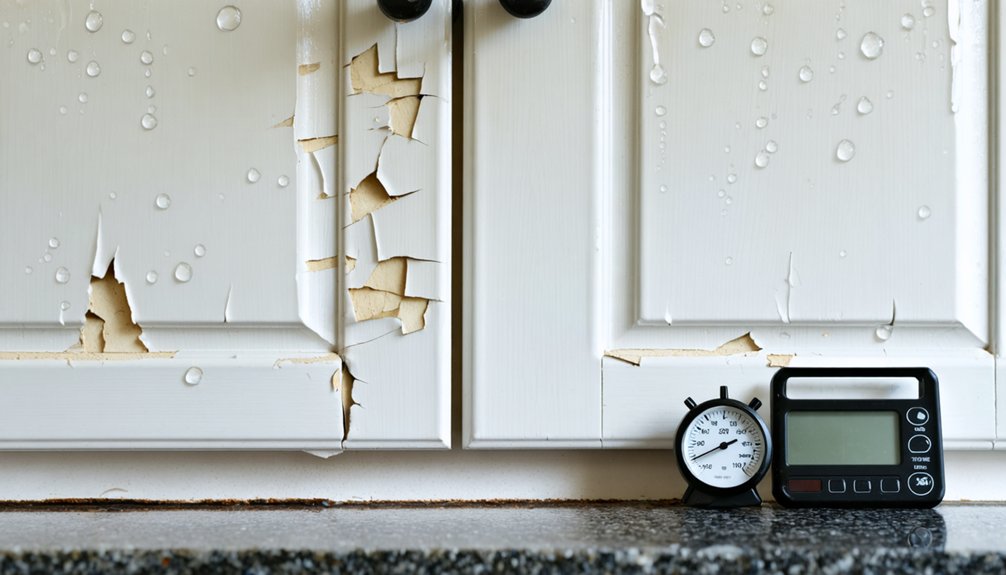
We’ve identified environmental conditions as critical factors in cabinet paint failure—high humidity above 50% prevents proper solvent evaporation and creates moisture pressure beneath the film, causing peeling and blistering. Temperature extremes compound these issues: applications below 50°F result in poor adhesion and streaking, while excessive heat causes premature surface drying that leads to flaking and orange peel texture.
Understanding these environmental thresholds allows us to control application conditions and select appropriate paint formulations that maintain long-term durability.
High Humidity Causes Peeling
When relative humidity exceeds 50% during cabinet painting, water-based coatings can’t release moisture at the rate required for proper curing. This creates weak adhesion that manifests as peeling within months.
We’ve identified four critical failure points:
- Initial Application: Saturated air traps moisture in wet paint, forming defective bonds at the wood interface
- Wood Movement: Cabinets absorb moisture and swell, creating paint wood mismatching as substrates expand beyond coating flexibility
- Thermal Cycling: Rapid moisture shifts from 20% winter conditions to 90% summer humidity generate expansion-contraction cycles that fracture paint films
- Chronic Exposure: Prolonged humidity fosters subsurface mold growth and weakens adhesive strength progressively
We recommend maintaining 40-50% indoor humidity with dehumidifiers and ensuring adequate ventilation during application to prevent these mechanisms.
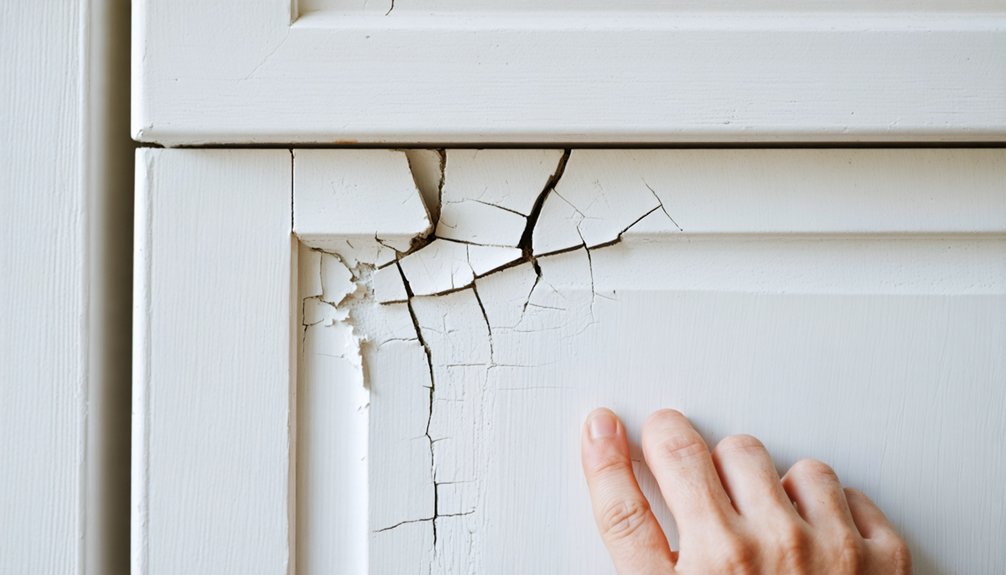
Extreme Temperatures Crack Paint
Temperature extremes create molecular-level stress in paint films that humidity alone can’t produce. When temperatures exceed 100°F near stoves or appliances, paint becomes brittle and chalky.
Alkyd finishes yellow at 120–150°C, while acrylics soften above their glass changeover point. We’ve observed that localized temperature variations near heat sources accelerate aging—reaction rates double every 18°F increase.
The real damage occurs when hot-humid conditions shift to cold-dry cycles overnight. This triggers wood movement stress as cabinets expand and contract, causing the paint to shrink and crack at molecular bonds. In fluctuating climates, professional paint jobs lasting 8-15 years can fail in 3-5 years.
We recommend maintaining stable temperatures, installing heat shields behind appliances, and using flexible painter’s caulk at joints to accommodate expansion without compromising adhesion.
The Art of Applying Thin, Even Coats
Although many DIYers assume thicker coats provide better coverage, the opposite holds true for professional-grade cabinet finishes. We’ve found that even coat application prevents pooling, yellowing, and those frustrating drips that plague vertical surfaces.
Thin, even layers prevent drips and yellowing—the counterintuitive secret to achieving professional-quality cabinet finishes that actually last.
Here’s our proven smooth layering technique:
- Thin your materials: Reduce primer or paint by 10-15% with water for brushing, 20% for spraying
- Position strategically: Lay doors flat on paint pyramids to minimize gravity-induced runs
- Build gradually: Apply three very thin topcoats rather than one heavy application
- Sand between layers: Use 220-320 grit after the first coat, 400-600 grit for subsequent coats
This approach delivers that factory-smooth finish we’re all after, with self-leveling paint doing the heavy lifting between properly spaced coats.
Understanding Paint Cure Time vs. Dry Time
We’ve observed countless cabinet refinishing projects fail because homeowners confuse dry time with cure time—a critical distinction that determines paint durability. Dry time indicates when solvents have evaporated and the surface won’t smudge (1-8 hours), while cure time marks complete chemical hardening through pigment-binder fusion (3-30 days depending on paint type).
Understanding this timeline prevents premature use that causes chipping, as paint remains vulnerable to damage until fully cured despite feeling dry to touch.
Dry vs. Cure Defined
We’ve identified four critical distinctions that prevent cabinet failure:
- Incomplete drying allows recoating but leaves underlying layers vulnerable
- Surface dryness doesn’t prevent dents or fingerprints
- Inadequate curing results in soft finishes susceptible to chipping
- Maximum hardness only occurs after full cure completion
Optimal Curing Timeline
Most cabinet painting failures stem from a single miscalculation: confusing dry-to-touch with fully cured. We’ve observed that water-based latex paints reach touchable surfaces in 1–4 hours, yet require 30 days for maximum hardness.
Oil-based formulations cure faster at 7 days despite longer initial dry times of 6–8 hours. Professional 2K waterborne polyurethane systems achieve 90% hardness within 48–72 hours.
The expected curing timeline varies considerably by product category. Chalk paints dry in one hour but demand a full month for complete maturation. Paint cure rate factors include ambient temperature (optimal 70–75°F), humidity levels (40–70%), and application thickness.
We recommend light cabinet use after 48 hours, normal operations at 14 days, and avoiding heavy items until the 30-day curing window closes entirely.
Edge Wear From Daily Cabinet Use
Cabinet edges endure relentless mechanical stress from the simple act of opening and closing doors throughout the day. We’re seeing accelerated paint failure where friction concentrates—at hinge contact points, pull locations, and door-to-frame interfaces.
The solution requires addressing multiple wear vectors:
- Hardware optimization: Conduct cabinet hardware inspection quarterly, tightening loose hinges and lubricating pivot points to eliminate binding
- Environmental control: Implement seasonal moisture monitoring, maintaining 35-40% relative humidity to prevent expansion-induced edge cracking
- Impact mitigation: Install soft-close mechanisms on all doors and drawers to eliminate slamming forces
- Material reinforcement: Apply edge banding or reinforced sealing to vulnerable unfinished surfaces
Protective Measures for High-Traffic Kitchen Areas
High-traffic zones demand strategic fortification beyond basic maintenance protocols. We’ll implement soft-close hinges as our primary defense mechanism, dramatically minimizing contact forces that cause repetitive stress fractures in painted surfaces. Improving hinge attachments through proper installation guarantees longevity under constant use.
Cabinet door bumpers provide critical impact absorption at closure points where chipping typically initiates. We’ll apply transparent edge protectors like Cabinet Hero barriers on high-contact zones—particularly around handles and frame edges. Drawer front protectors shield frequently handled areas from oils and abrasion.
Environmental controls remain essential: installing range hoods manages moisture that softens paint films, while heat shields protect surfaces near cooking appliances. We’ll wipe cabinets regularly to remove cooking residue before it compromises our protective coatings. Strategic hardware upgrades transform vulnerable points into reinforced contact zones.
Maintenance Practices That Extend Your Paint Job’s Life
While protective measures establish our first line of defense, systematic maintenance protocols determine whether painted cabinets survive five years or fifteen. We’ll implement seasonal maintenance schedules that address environmental stressors before they compromise our finishes.
Our preventive cleaning approach includes:
- Weekly dust removal with microfiber cloths to prevent abrasive particle accumulation
- Monthly humidity monitoring maintained between 40-50% using dehumidifiers in moisture-prone zones
- Quarterly hardware inspection and cleaning, removing knobs to soak in soapy water
- Bi-annual touch-up sessions addressing minor chips with manufacturer-matched paint before deterioration spreads
We’ll maintain temperature stability around 70 degrees, avoiding thermal expansion that cracks finishes. Immediate spill response remains non-negotiable—grease splatters near cooking zones require instant attention with damp cloths, followed by thorough drying to prevent moisture penetration into paint layers.
Frequently Asked Questions
Can I Paint Cabinets in Winter Without Indoor Climate Control?
We don’t recommend it—temperature fluctuations and humidity concerns will compromise adhesion and cause chipping. However, we can successfully paint cabinets if you maintain 50–85°F consistently using portable heaters and monitor humidity levels between 30–50%.
Will Professional Spray Painting Last Longer Than Brush Application Methods?
Professional spray application techniques typically outlast brushing because they create thinner, more uniform coatings that bond better with cabinet material composition. We’ve found spraying substantially reduces chipping risk when you’re working with properly prepared surfaces and quality materials.
Should I Remove Cabinet Doors or Paint Them While Installed?
We recommend removing doors despite the extra effort. Leaving doors on increases drips, texture issues, and corner buildup that compromise durability. Using proper preparation and painting flat delivers smoother, longer-lasting results that prevent chipping.
Can Chipped Paint Be Spot-Repaired or Does It Need Complete Repainting?
We can spot-repair minor chips through proper surface preparation and paint primer application on affected areas. However, widespread damage requires complete repainting. We’ll assess your cabinet’s condition to determine whether targeted touch-ups suffice or full refinishing’s necessary.
Are Water-Based Paints as Durable as Oil-Based for Kitchen Cabinets?
We’ve found water-based paints fall short of oil-based durability for kitchen cabinets. They require greater paint film thickness and extended curing time requirements to match oil-based performance. For professional-grade results in high-traffic kitchens, we recommend oil-based formulations.