We’ve painted hundreds of Hailey homes where mountain temperature swings and high-altitude dryness create conditions that destroy amateur paint jobs within months. You’ll need to maintain substrate temperatures between 50°F and 85°F while targeting 40-50% relative humidity with digital hygrometers. We recommend deploying dehumidifiers during application and verifying moisture content with pin-type meters before priming. Proper surface preparation, including spackle application and 120-180 grit sanding, safeguards professional adhesion in Idaho’s challenging climate. Below, we’ll share the systematic protocols that secure lasting results.
Key Takeaways
- Maintain indoor temperatures between 50°F and 85°F and target 40-50% humidity for optimal paint adhesion and drying.
- Wash walls thoroughly, fill holes with spackle, and sand smooth before applying primer to water-stained areas.
- Paint trim first, then ceilings, and finally walls using systematic cutting-in techniques for professional, clean lines.
- Use eggshell finish for living spaces, satin for moisture-prone areas, and flat paint for ceilings to hide imperfections.
- Apply multiple thin coats using W-pattern roller strokes rather than one heavy application for uniform, drip-free coverage.
Preparing Your Walls for a Professional-Looking Paint Job
Before applying a single brushstroke, proper wall preparation determines whether your interior paint job will look professionally executed or amateurish. We’ll guide you through essential preparation steps that guarantee lasting results.
Start by washing walls with warm water to remove dust and debris. Kitchen surfaces require grease-cutting detergent followed by thorough rinsing. Using spackle to fill holes comes next—apply compound to all damaged areas and sand smooth once dried.
Clean walls thoroughly with warm water, then fill and sand all holes with spackle for a flawless foundation.
Surface treatment for water stained walls demands primer-sealer application to prevent show-through. Sand glossy finishes with appropriate grit sandpaper to promote adhesion. Remove all sanding dust with a damp cloth before proceeding.
If you’re dealing with wallpaper, complete removal is mandatory. Always prime bare patches and repaired areas to create uniform surface porosity.
Essential Tools and Materials for Interior Painting Success
While proper wall preparation sets the foundation, selecting appropriate tools and materials directly impacts your painting efficiency and finish quality. We recommend starting with paint brush selection: a 2.5-inch angled sash brush with synthetic bristles for latex paints handles trim work and cutting in with precision.
Pair this with a 9-inch roller frame equipped with microfiber covers for efficient wall coverage. Dampen rollers before use to minimize paint absorption and waste.
We’ll need painter’s tape for clean edges and canvas drop cloths to protect surfaces. Essential prep tools include spackle for patching, 120-180 grit sanding sponges for smoothing repairs, and a 5-in-1 painter’s tool for scraping and opening cans. Proper cleaning painting tools immediately after use extends their lifespan and maintains professional results throughout your project.
The Right Painting Sequence: Trim, Ceilings, and Walls
We’ve found that following the correct painting sequence—ceiling first, trim second, walls last—prevents costly rework and delivers professional results. This methodology protects each surface from overspray contamination while enabling efficient cut-in techniques and razor-sharp boundaries between different paint sheens.
Let’s examine why starting with your ceiling, followed by trim work, then finishing with walls maximizes efficiency and minimizes surface damage.
Trim First: Why It Matters
When homeowners face an interior painting project, the sequence they choose directly impacts the final result’s quality and efficiency. We’ve found that painting trim first delivers superior outcomes through proven technical advantages:
- Cleaner Lines: Taping over dry trim creates even trim edges and smooth shifts where walls meet woodwork
- Easier Touch-Ups: Wall rollers easily cover trim overspray, eliminating multiple correction cycles
- Taping Efficiency: Dry trim accepts painter’s tape without lifting or peeling during removal
- Professional Standard: Industry experts tackle precise trim work upfront before broad wall coverage
- Time Savings: Completing detail-oriented trim prevents repainting if wall colors change
This approach aligns with construction-phase protocols where we apply semi-gloss finishes to trim, allow proper curing, then execute wall painting with maintained focus on safety and quality standards.
Ceiling Application Best Practices
After completing trim work, ceilings demand immediate attention in the painting sequence to protect freshly finished walls from overhead spatter and drips. We’ll begin surface prep by repairing cracks with joint compound, sanding smooth, and applying stain-blocking primer where needed.
For ideal ceiling design integration, we’ll select flat-finish paint that conceals imperfections while complementing your room’s aesthetic.
Our technique involves cutting in a 2-3 inch perimeter with an angled brush, then rolling in overlapping passes using appropriate nap thickness—low for smooth surfaces, 3/4-inch for texture. Ceiling lighting considerations prove critical: we’ll position work lights at angles and roll parallel to primary light sources to eliminate visible roller marks. Maintaining a wet edge throughout prevents lap lines, ensuring professional-grade results before advancing to wall application.
Wall Painting Final Steps
With ceiling application complete and trim surfaces fully cured, we’ll execute the critical wall painting phase that demands precision timing and systematic technique. We’ll begin with proper edging work:
- Cut in 2-3″ border strips along ceiling-to-wall junctures using quality angled brushes
- Start shorter walls first to optimize workflow patterns and maintain wet edges
- Apply roller passes immediately after brush edging to blend perimeter seamlessly
- Maintain consistent overlap with each stroke for uniform coverage across surfaces
- Allow 2-4 hours drying time between coats per manufacturer specifications
After the initial coat cures completely, we’ll apply our final paint application to walls before moving to baseboards and doors as finishing touches. This systematic approach prevents cross-contamination while ensuring professional-grade results throughout your Hailey home.
Choosing the Best Paint Finishes for Different Surfaces
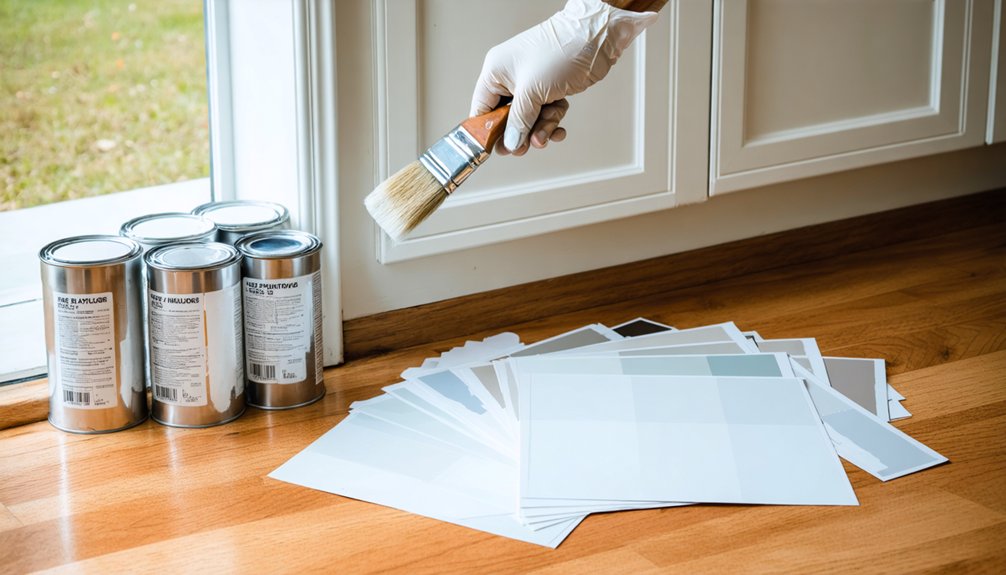
Selecting the correct paint finish requires understanding how light reflectivity, durability, and surface preparation interact with each room’s specific functional demands.
We recommend flat or matte finishes for low-traffic areas like bedrooms and dining rooms, where they’ll effectively conceal surface imperfections. For ideal paint finishes for different rooms, we suggest eggshell as the most versatile choice across living spaces, hallways, and everyday areas.
Satin finishes deliver superior moisture resistance and cleanability in kitchens and bathrooms, making them our preferred specification for high-humidity zones. When determining perfect paint finish choices for home interiors, we always pair semi-gloss or gloss on trim and cabinetry with lower-sheen walls to create visual dimension.
Remember: higher-gloss finishes demand meticulous surface preparation and skilled application techniques to avoid highlighting imperfections.
Ceiling Painting Techniques That Hide Imperfections
Mastering ceiling painting techniques requires understanding how strategic material selection and methodical application procedures work together to minimize visible surface defects. We’ve found that spray application techniques deliver superior results when maximizing sheen uniformity across textured surfaces.
Flat paints excel in concealing imperfections while maintaining consistent appearance throughout your workspace.
Our proven application sequence includes:
- Repairing all cracks and holes with spackling paste, then sanding smooth for seamless integration
- Spot-priming stains from water damage or smoke instead of coating entire surfaces unnecessarily
- Rolling perimeters with 4-inch mini rollers to prevent picture framing effects
- Working methodically from corner to corner in small sections with slight overlap
- Completing full coverage in single sessions for uniform drying patterns
We recommend high-quality roller sleeves matched to your ceiling’s texture, ensuring proper nap depth for ideal coverage and professional results.
Mastering Cut-Ins and Avoiding Lap Marks
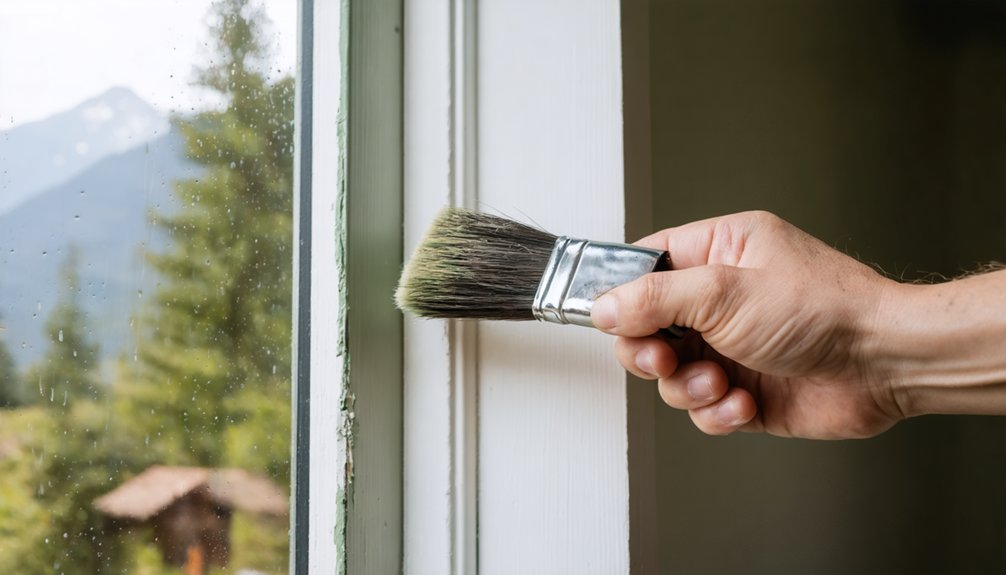
Professional ceiling work sets the foundation for clean room perimeters, but achieving razor-sharp edges between surfaces demands specialized brush control and timing precision. We’ll hold our 2.5-inch angled nylon brush like a pen, dipping just one-third into paint after proper primer application techniques establish our base layer. Starting at cornices, we’ll maintain a 50mm border using crescent motions at 45-degree angles, working systematically down wall corners to skirting boards.
Paint brush maintenance becomes critical as we feather outer edges with dry bristles, blending seamlessly before rolling adjacent sections. We’ll cut in one complete wall before rolling to prevent lap marks from dried boundaries. In tight corners, we’ll vibrate brush tips slightly to release paint without mess. Remove tape at touch-dry stage for professional reveals.
Application Methods for Even, Full Coverage
While cut-in edges establish our room’s framework, we’ll now focus on systematically covering broad wall expanses with controlled roller and brush techniques that guarantee common application failures.
Methodical roller techniques and proper applicator selection transform broad wall coverage from potential disaster into professional-grade finish.
Our smooth paint spread depends on quality applicator selection matched to surface conditions and paint chemistry:
- Match synthetic roller covers to water-based formulations while reserving natural fibers for oil-based products
- Apply paint using W or M zigzag patterns followed by vertical strokes for even distribution
- Select short nap rollers for smooth surfaces and longer naps for textured walls
- Maintain light, consistent pressure throughout rolling to prevent drips and certify uniform coverage
- Build coverage through multiple thin coats rather than single heavy applications
We’ll overlap each paint line by several inches, working systematically from top to bottom. This methodical approach guarantees professional results we can confidently deliver.
Managing Temperature and Humidity During Your Paint Project
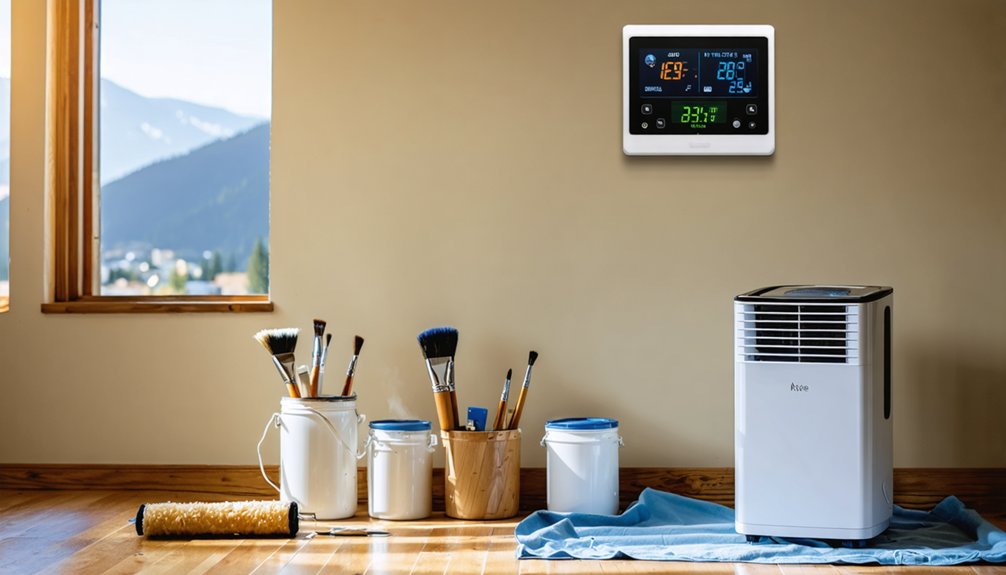
Environmental conditions directly determine paint adhesion, curing rate, and long-term durability throughout our interior projects. We maintain temperatures between 50°F and 85°F, as extremes compromise film formation and surface bonding. Temperature regulation becomes critical in Hailey’s variable climate—readings below 50°F thicken coatings and extend cure cycles, while excessive heat causes premature skinning and lap marks.
Our moisture monitoring protocols target 40-50% relative humidity using digital hygrometers. We’ve found each 10% RH increase above 50% extends drying by 20-30%, risking trapped moisture and adhesion failure. Deploy dehumidifiers in kitchens and bathrooms where vapor concentration accelerates paint degradation. We verify substrate moisture content with pin-type meters before priming, ensuring readings stay below manufacturer specifications. These disciplined environmental controls separate professional results from premature coating failures.
Working With Textured Walls and Accent Colors
Textured surfaces demand specialized equipment and application methods that differ remarkably from smooth-wall protocols. We’ll need thick nap roller covers (3/4 to 1 inch) to penetrate grooves effectively, while thin rollers create unacceptable dappled finishes. For accent wall placement, we recommend applying paint in W-motion patterns to guarantee superior coverage across uneven surfaces.
Consider these professional texturing techniques for your project:
- Orange peel: Thin drywall mud with water, apply via compressor sprayer
- Slap brush patterns: Apply wet compound, create designs with specialized brushes
- Rag rolling: Bunch cloth, roll top-to-bottom with consistent pressure using 2:1 paint-to-water ratio
- Sponge dabbing: Repeatedly press paint-soaked sponge for dimensional effects
- Sand swirl: Create flowing patterns for dramatic accent walls
High-quality latex formulations optimize maintenance of textured surfaces while potentially enabling single-coat application.
Time-Saving Tips for Efficient Room-by-Room Painting
Streamlining your interior painting workflow cuts project duration by 30-40% when we implement systematic room-by-room protocols. Effective space planning begins with clearing furniture to create accessible work zones while designating a centralized supply station outside the room.
Our project preparation sequence follows a strict hierarchy: complete all caulking, wood putty applications, and drywall repairs before opening paint cans. We’ll paint ceiling-to-trim systematically—prime first, cut in edges with angled brushes, then immediately roll walls to maintain wet edges and eliminate lap marks.
Attach extension poles to rollers for consistent coverage across 18-inch sections. Between rooms, we’ll circulate air with fans to accelerate drying while prepping adjacent spaces. This alternating workflow eliminates idle time and maintains momentum throughout multi-room projects.
Frequently Asked Questions
How Long Should I Wait Between Coats When Painting Interior Walls?
We’ll wait 2-4 hours between latex coats, ironically saving time by *not* rushing. For oil-based paints, we’re looking at 24 hours minimum. Proper paint application techniques and ideal drying times between coats prevent costly mistakes we’d all regret.
Can I Paint Over Wallpaper or Should I Remove It First?
We recommend proper wallpaper removal before painting for superior results. While you can paint over it, paper texture considerations will affect your finish quality. Removing wallpaper prevents seam visibility and moisture-related adhesive failure, ensuring lasting performance.
What’s the Best Way to Protect Furniture and Floors During Painting?
We’ll deploy durable drop cloths over floors, overlapping edges by six inches and taping seams. For furniture coverings, we’ll secure lightweight plastic sheets or heavy canvas, protecting every surface from splatter while maintaining safe, professional workspace standards together.
How Do I Calculate How Much Paint I Need for My Room?
We’ll calculate paint quantity calculation by measuring your wall square footage, subtracting openings, then dividing by paint coverage area (350-400 sq.ft. per gallon). Always round up and factor in two coats for ideal protection and finish.
Should I Use Primer Before Painting or Can I Skip It?
We recommend primer for most projects—it’s essential for accurate paint coverage estimates and achieving your desired paint sheen considerations. Skipping it risks adhesion failure and uneven finishes, compromising both safety and longevity of your investment.