We’ve found that successful interior painting in Hagerman’s high-desert climate starts with thorough surface preparation—removing all dust and grease, filling imperfections with quality spackle, and testing primer compatibility. You’ll want to select high-resin latex paints like Benjamin Moore Regal Select Interior Matte, which we’ve verified performs exceptionally well in our region’s temperature fluctuations. For professional-grade results, we recommend mastering the tape-edge sealing technique: paint over tape borders with your existing wall color before applying topcoat. The following protocols will transform your project outcomes.
Key Takeaways
- Inspect walls for defects, remove dust and grease, fill imperfections with spackle, and sand smooth before painting.
- Choose high-resin paints like Benjamin Moore Regal Select Interior Matte for enhanced color depth and durability.
- Apply painter’s tape carefully, seal edges with existing wall color, then paint to achieve crisp lines.
- Avoid economy-grade paints with low resin content, which lead to peeling, cracking, and premature failure.
- Consider ceramic-infused lifetime warranty coatings to eliminate future repainting costs and increase home value.
Preparing Your Walls for a Professional Finish
Before applying the first coat of paint, we must systematically evaluate the wall’s condition to identify surface defects that compromise adhesion and finish quality. We’ll locate cracks, nail pops, and dents during our initial inspection, then remove dust, grease, and residue using appropriate cleaning solutions. After filling imperfections with spackle or joint compound, we’ll sand repairs with fine-grit sponges to achieve seamless shifts.
Testing primer compatibility with your wall material ensures ideal bonding, while evaluating surface porosity helps determine whether spot-priming or full-surface application is necessary. We’ll address glossy finishes by lightly sanding to improve mechanical adhesion. Once we’ve caulked gaps between walls and trim, completed our final inspection, and allowed primer to cure completely, we’re ready for paint application.
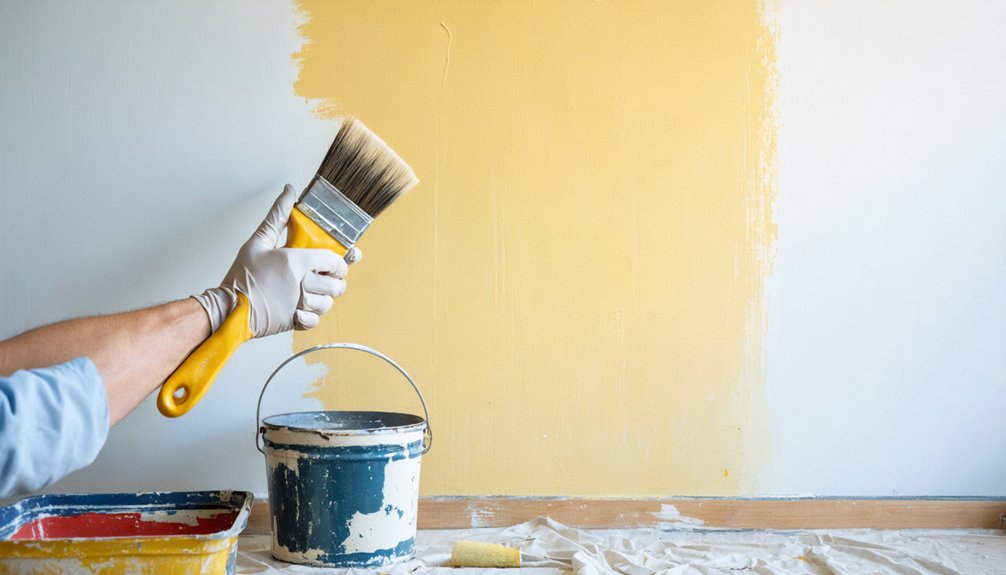
Selecting the Right Paint Products for Long-Lasting Results
When we specify premium interior paints for Hagerman projects, we prioritize formulations with high resin content and advanced binders that guarantee proper adhesion and longevity. Matte finishes work exceptionally well for darker color applications since they minimize surface imperfections while providing superior depth, and we’ll always recommend products backed by lifetime warranties like True Value EasyCare to safeguard your investment.
We steer clients away from economy-grade paints with low resin ratios—these budget options require additional coats, demonstrate poor coverage rates, and typically fail within three to five years.
Matte Finishes for Dark Colors
While flat finishes once dominated the dark paint category, matte formulations now deliver superior performance characteristics that we’ve found essential for achieving professional results in Hagerman’s residential projects. Our matte paint selection approach prioritizes products with 5–10% sheen levels that enhance color depth while maintaining the sophisticated, non-reflective surface our clients prefer.
We’ve observed that paint product durability has improved dramatically through modern flattening agents and high-pigment formulations. Benjamin Moore Regal Select Interior Matte (N548) consistently performs well in bedrooms and living rooms, where its washability withstands daily wear without compromising the velvety texture that makes dark colors appear richer.
For high-traffic hallways, we specify formulations with enhanced cleanability while steering clients away from kitchens and bathrooms where moisture absorption compromises performance.
Lifetime Warranty Coating Benefits
Premium lifetime warranty coatings represent a fundamental shift in how we approach paint product selection for Hagerman interior projects, moving beyond traditional 5-7 year paint cycles toward permanent protective systems. We’re implementing ceramic-infused formulations that deliver 8-10 times the protective layer thickness of standard paints through multi-stage application protocols.
The three-coat system—bonding agent, primers, and finishing layers—creates exceptional adhesion properties that prevent delamination and blistering. Our warranty coverage includes both materials and labor for defects, eliminating pro-rated limitations.
The long term cost advantages become evident when we calculate eliminated repainting expenses exceeding $5,000 per cycle. Additionally, transferable resale value provisions allow warranty benefits to pass to subsequent property owners, enhancing market appeal through documented maintenance-free performance.
Avoid Low-Resin Cheap Paints
Understanding paint resin content determines the difference between durable interior finishes and repeated maintenance failures in Hagerman applications. We’ve observed that low-resin formulations compromise adhesion, flexibility, and moisture resistance—leading to peeling, cracking, and mildew accumulation. Paint resin quality factors directly impact long-term performance; insufficient binder content creates weak bonds on high-pH plaster surfaces common in our region’s homes.
When we select products, paint sheen characteristics reveal formulation integrity. Premium options like BEHR DYNASTY and Sherwin Williams Emerald incorporate urethane-enhanced resins that withstand Idaho’s temperature fluctuations while bridging hairline cracks through superior elongation. We recommend avoiding budget paints requiring frequent reapplication.
Instead, invest in high-resin latex formulations paired with alkali-resistant primers—particularly vital during Hagerman’s 7-30 day plaster curing periods. This approach guarantees lasting protection against our climate’s specific challenges.
Mastering Masking Techniques for Clean Lines
We’ll demonstrate critical masking techniques that separate professional results from amateur paint jobs in Hagerman homes. The precision you achieve through proper tape application, fixture protection, and bleed-prevention methods directly determines the crispness of your finished lines.
Let’s examine the sequential process for securing tape, protecting electrical components, and creating impermeable barriers against paint migration.
Proper Tape Application Methods
Masking tape selection directly impacts the quality of paint lines in every interior project. We’ll guide you through selecting the right tape for your Hagerman home’s specific surfaces. Low-tack tape protects delicate or recently painted walls, while medium-tack handles multipurpose interior work with up to two weeks removability. High-tack secures to rough, textured surfaces but requires removal within seven days.
Apply tape in arm’s length sections, pressing firmly with a putty knife to seal edges completely. We smooth one-handed while applying with the other to eliminate bubbles. Never stretch tape—it’ll lift and curl. Press especially hard at trim, molding, and ceiling junctions.
Master tape removal techniques by peeling at 45-degree angles while paint remains slightly wet. This method delivers the crispest lines we can achieve.
Protecting Outlets and Switches
Electrical components demand systematic protection before we introduce paint into Hagerman’s interior spaces. We’ll unscrew outlet and switch covers completely, storing hardware in dedicated containers for safe disposal of removed hardware. This approach enables complete tape coverage without gaps. For proper handling of electrical components, we must verify power disconnection before any contact with internal elements.
Our systematic protection protocol includes:
- Applying 50mm tape strips across exposed outlets in overlapping layers, folding edges precisely to prevent wall contact
- Using moisture-resistant painter’s tape exclusively to block paint seepage into electrical contacts
- Avoiding deep tape insertion behind switch mechanisms, which creates shock hazards during removal
We’ll select pre-sized stickers or precision-cut blue tape for standard outlets. Roller pressure can puncture inferior materials, compromising electrical safety and finish quality.
Sealing Against Paint Bleed
Sharp paint lines separate professional results from amateur finishes, and we’ll achieve this distinction through strategic sealing protocols that prevent bleed-through along masked edges.
Optimizing tape selection begins with edge-lock technology products like FrogTape Green, which deploys polymer barriers on textured surfaces. We’ll press tape firmly using a putty knife against rough walls, avoiding stretching during application.
Ensuring surface preparation means cleaning walls with mild soap, patching imperfections, and allowing complete drying before taping. We’ll then paint the existing wall color over tape edges, intentionally letting it wick underneath to form a barrier against our new topcoat.
For enhanced protection on challenging surfaces, we’ll apply clear caulking over standard tape edges before painting. This combination of proper tape application, base-color sealing, and selective caulking delivers laser-straight lines consistently.
Choosing Between Rolling and Spraying Application Methods
When selecting between rolling and spraying for interior painting projects in Hagerman, we’re evaluating two fundamentally different application systems with distinct performance characteristics. Each paint application method delivers specific advantages depending on project scale and surface conditions.
Key Performance Differentials:
- Coverage velocity: Sprayers apply 50+ gallons daily versus rollers’ 15-gallon maximum, with airless systems achieving 1.1 gallons per minute using dual guns
- Preparation requirements: Rolling demands under one minute setup, while spraying necessitates extensive masking—approximately 4 hours for 1,500 square feet
- Finish characteristics: Sprayers produce ultra-smooth surfaces; rollers create slight texture while delivering thicker coats for superior color saturation
Equipment purchase considerations greatly impact project economics. We’ve found rollers minimize waste and investment costs, while sprayers excel on expansive smooth surfaces despite higher initial expenditure and cleanup complexity.
Achieving Optimal Coverage With Proper Coating Techniques
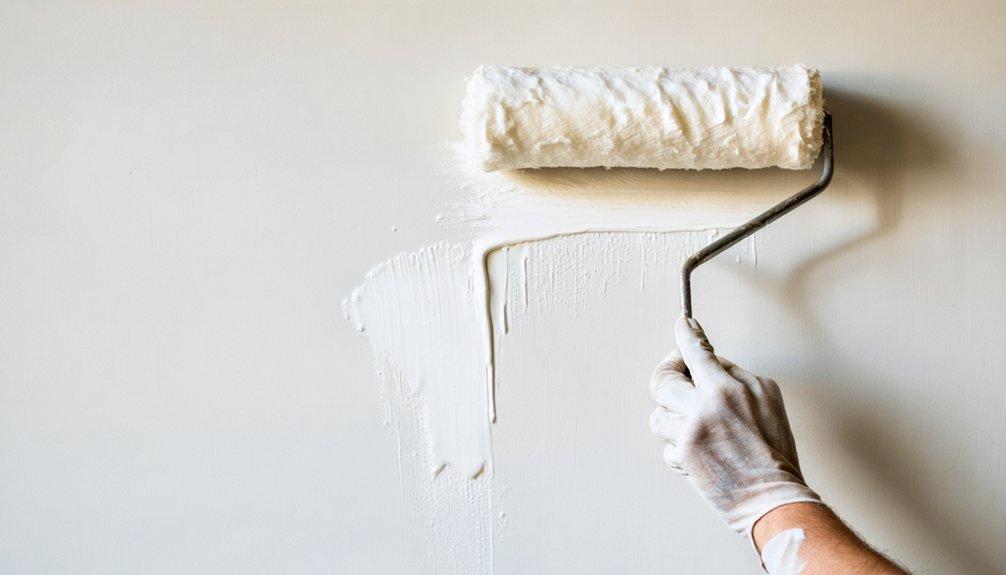
We’ve found that applying a heavy first coat—loading the roller fully to cover approximately 9 square feet per load—establishes the foundation for complete coverage while minimizing total coats required. After spraying or rolling the initial application, we immediately back roll the surface using moderate, even pressure in an N or W-pattern to work the paint into the substrate and eliminate inconsistencies.
For cut-in areas and edges, we follow rolled sections with brush work to blend shifts and guarantee uniform film thickness across the entire surface.
Heavy First Coat Application
Most painters discover that achieving ideal coverage starts with understanding proper coating viscosity and application methods for the first coat. When we apply heavy paint application during the initial pass, we’re actually creating additional coat requirements rather than reducing them. This counterintuitive result occurs because thick applications don’t allow proper leveling and can trap air bubbles.
We’ve found these practices deliver superior results:
- Load rollers fully but distribute paint evenly from top to bottom with 50% overlap per pass
- Apply light pressure and let the roller and paint achieve coverage naturally
- Thin water-based coatings by 10-20% for porous surfaces like bare plaster
Standard coverage reaches 17m² per liter under normal conditions, though two coats remain necessary for most colors.
Back Rolling and Brushing
Professional painters combine spray application with back-rolling to achieve superior adhesion and eliminate surface defects that compromise coating performance. We implement the back rolling technique immediately after spraying each wall, working the coating into the substrate while it’s still wet. This process smooths raised fibers on drywall and fills pinholes that spraying alone can’t address.
Our team loads the roller heavily on first pass, then spreads material vertically from bottom to top using consistent, even strokes. We focus extra attention on joints and seams where penetration matters most. The brushing paint application complements this approach in corners and trim areas where rollers can’t reach. This combined methodology cuts application time drastically while delivering the uniform mil thickness and professional finish that Hagerman homeowners expect from quality interior work.
Touch-Up Strategies for Seamless Wall Repairs
Before attempting any wall repair, surface preparation determines whether the patch will blend seamlessly or remain visible through subsequent paint layers. We’ll guide you through professional techniques that transform damaged drywall into invisible repairs.
Proper surface preparation is the foundation of invisible wall repairs that withstand time and scrutiny.
Essential repair sequences we recommend:
- Layer building approach – Apply thin coats of joint compound with proper drying intervals between applications, sanding each layer with 220-grit sandpaper until hand-smooth
- Feathered edges technique – Use sanding blocks in circular motions to create gradual shifts that eliminate visible ridges where repairs meet existing surfaces
- Strategic priming protocol – Spot-prime all patched areas before painting to ensure visual blending and color uniformity across the entire wall
Our proven methods combine proper material selection with meticulous execution, guaranteeing your repairs integrate flawlessly with surrounding surfaces while maintaining professional-grade durability.
Working With Different Paint Finishes and Sheens
Successfully traversing paint finish selection requires understanding how light interaction, surface durability, and maintenance requirements align with each room’s specific demands. We recommend matching finishes to lighting conditions—flat paints absorb light in bedrooms while semi-gloss reflects it on trim.
Adapting paint choices for room function guarantees longevity: we’ll specify satin’s moisture resistance for bathrooms, eggshell’s versatility for living spaces, and high-gloss durability for high-traffic doors. Each finish’s binder-to-pigment ratio directly impacts cleanability and wear resistance.
We’ve found that strategic sheen selection—from matte’s imperfection-hiding properties to semi-gloss’s architectural highlighting—creates cohesive interiors. Understanding these technical distinctions empowers you to specify appropriate finishes, maximizing both aesthetic appeal and functional performance throughout your Hagerman home’s distinct zones.
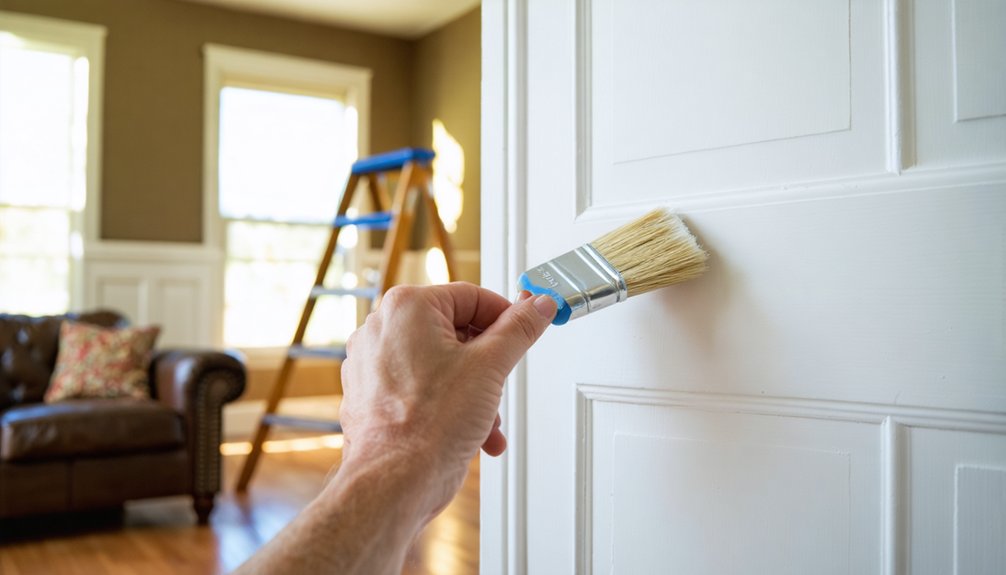
Essential Tools for Efficient Interior Painting
When selecting interior painting tools, we prioritize equipment that directly impacts application efficiency and finish quality. Professional-grade 2.5-inch angle sash brushes with synthetic bristles deliver crisp lines around trim when working with latex paints, while 9-inch microfiber roller covers efficiently handle wall coverage. We match roller nap length to surface texture—short-nap for smooth walls, long-nap for textured applications.
Quality tools determine your results—proper brush and roller selection matched to paint type and surface texture separates professional finishes from amateur work.
Critical tool selection considerations:
- Brush type and bristle material – synthetic for water-based paints, natural for oil-based finishes
- Surface preparation equipment – spackle, sanding sponges (180-320 grit), and putty knives guarantee proper adhesion
- Protection materials – painter’s tape, drop cloths, and masking film prevent overspray damage
Our brush cleaning tips emphasize immediate solvent or water rinses after use. For brush storage solutions, we hang brushes vertically or store them flat to maintain bristle integrity between applications.
Avoiding Common Painting Mistakes and Defects
Having the right tools means nothing if we apply them incorrectly or skip fundamental preparation steps. We’ll compromise our project’s success if we paint over peeling surfaces, skip primer application, or neglect proper surface cleaning.
Moisture control measures become critical in Hagerman’s climate—we must guarantee walls are completely dry before painting to prevent adhesion failures.
We need to avoid overloading our brushes and rollers, which creates drips and uneven coverage. Maintaining a wet edge prevents visible lap marks, while proper drying intervals between coats—typically four hours minimum—guarantee durability.
Preventing paint residue buildup requires thorough mixing before application and consistent pressure throughout our strokes. Testing colors under actual lighting conditions prevents costly disappointment, and selecting appropriate finishes for each room’s traffic level ensures long-lasting results.
Protecting Your Floors and Fixtures During the Project
Our painting project’s success depends on thorough protection systems that prevent irreversible damage to flooring and fixtures. We’ll establish professional-grade coverage using 12-ounce canvas drop cloths with butyl backing, overlapping edges by six inches and securing them with wide masking tape. Hardwood and carpet demand complete coverage—every exposed square inch—while tile benefits from dual-layer protection combining masking paper beneath canvas.
Essential protection strategies we implement:
- Canvas drop cloths absorb paint drips while maintaining stationary positioning during ladder movement and foot traffic
- Foam padding and cardboard corner guards shield furniture edges, doorways, and delicate fixtures from impact damage
- Painter’s tape application protects electrical outlets from overhead splatter and secures protective coverings
We’ll maintain organized drop cloth storage throughout the project, enabling efficient post painting cleanup while preserving our investment in quality materials.
Frequently Asked Questions
How Long Should I Wait Between Coats When Painting Interior Walls?
We’ll wait 2–4 hours between coats for latex paint, ensuring proper paint application techniques. This drying time between coats prevents peeling and streaking. For oil-based finishes, we’ll extend that to 24 hours for ideal adhesion and longevity.
What Temperature and Humidity Levels Are Best for Interior Painting Projects?
We’ve found 60°F to 75°F delivers the favorable temperature range for your interior painting success. Pair this with ideal humidity levels between 40% to 50% RH, and you’ll achieve professional-grade adhesion and film formation every time.
How Do I Calculate the Amount of Paint Needed for My Room?
We’ll measure your wall surfaces, subtract openings, then divide by coverage rates (typically 350-400 sq.ft./gallon). Paint coverage estimates depend on paint application techniques and surface porosity. We recommend buying extra for touch-ups and applying proper coats for lasting results.
Can I Paint Over Wallpaper or Should I Remove It First?
We’ll always recommend removal first—it’s the gold standard. However, if you’re set on painting over, sealing wallpaper edges and priming wallpaper before painting with shellac-based primer prevents delamination and guarantees proper adhesion for lasting results.
How Long Before I Can Move Furniture Back After Painting?
We recommend waiting 24-48 hours for latex paint before furniture placement, though oil-based needs 72 hours minimum. Remember, curing time extends 21-30 days for full durability, so we’ll avoid heavy use during that period.