We’ve watched thousands of paint jobs fail within two years because homeowners skipped surface prep, used the wrong paint type, or rushed drying times between coats. The most expensive mistake isn’t choosing the wrong color—it’s neglecting primer, using bargain tools that leave streaks, or painting when humidity and temperature conditions guarantee adhesion problems. Most failures trace directly to decisions made before we ever open a paint can, and understanding these critical factors will save you from costly repaints down the road.
Key Takeaways
- Skipping primer compromises the paint job’s performance and longevity, regardless of paint quality or application skill.
- Proper surface preparation with cleaning and roughening prevents adhesion failures more effectively than any premium paint product.
- Rushing drying time between coats leads to peeling and bubbling within 18-36 months, negating your entire investment.
- Using interior paint outdoors or vice versa guarantees premature failure due to mismatched formulation requirements.
- Cheap brushes and rollers create visible streaks and orange-peel textures that undermine an otherwise professional finish.
Surface Preparation Is Non-Negotiable for Paint Adhesion
While homeowners often focus on selecting the perfect color, we’ve learned that paint adhesion lives or dies at the molecular level—long before the first coat touches the wall. We see failures traced back to inadequate surface prep far more than adhesive defects. Simply cleaning isn’t enough; residual contamination prevents proper bonding even when surfaces look clean. That’s why molecular verification matters—confirming true readiness beyond visual inspection.
Roughening creates mechanical interlocking by giving substrates the “teeth” needed for coating grip, but only when paired with wetting optimization. Low surface energy prevents paint from spreading properly, compromising adhesion regardless of cleaning effort. We raise substrate energy through targeted treatments, ensuring coatings wet completely. The pull-off tests don’t lie: proper preparation shows measurable strength differences every time.
Choosing the Right Paint Type Matters More Than Color
We’ve seen homeowners spend hours agonizing over paint colors while overlooking the technical specifications that determine whether their paint job succeeds or fails. The fundamental decisions—interior versus exterior formulations, oil-based or latex chemistry, and appropriate finish levels—directly impact durability, maintenance requirements, and long-term performance in ways that color selection never will.
Before you commit to that perfect shade of blue, we need to walk you through the paint type considerations that separate professional results from premature failure.
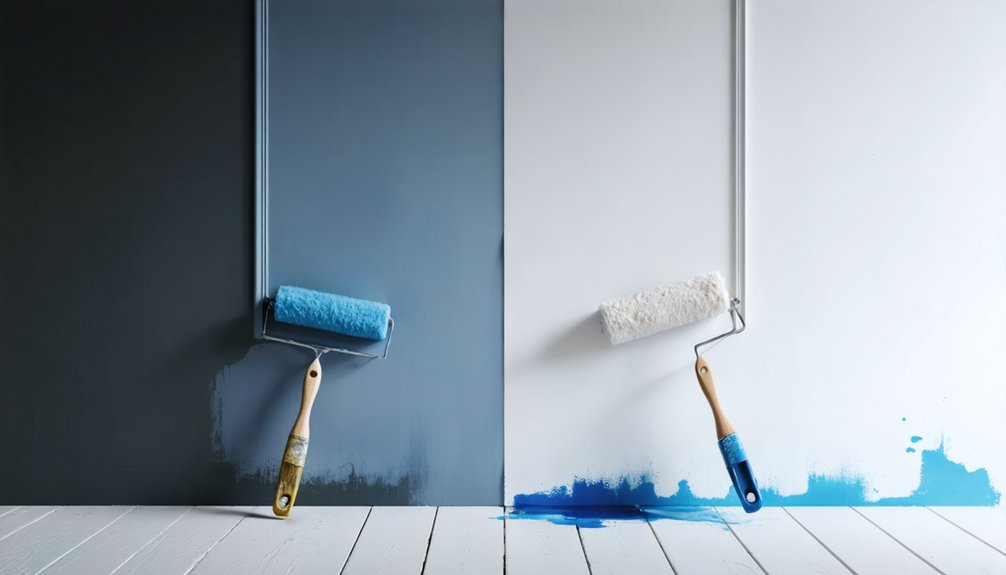
Interior Versus Exterior Paint
Most homeowners obsess over color swatches while overlooking a more critical decision: whether they’re using interior or exterior paint. We’ve seen countless jobs fail because someone grabbed the wrong formula.
Here’s what separates them: exterior paints contain flexible resins that expand and contract with temperature swings, plus potent mildewcides to combat moisture and fungal growth. They’re engineered for UV exposure and driving rain.
Interior paints use rigid resins for scuff resistance and prioritize low volatile organic compounds to protect your family’s air quality. The mildew resistance is milder since you’re not battling outdoor humidity.
Using exterior paint indoors means unnecessary fumes; using interior paint outside guarantees premature failure. We can’t stress this enough—matching paint type to application prevents expensive do-overs.
Oil-Based or Latex Formula
After years of watching homeowners agonize over paint chips while dismissing the oil-versus-latex decision, we’ve learned this formula choice determines whether your project survives five years or twenty. The paint benefits differ dramatically between these chemistries. Latex excels on exterior surfaces and drywall, drying fast enough for multiple coats daily while resisting temperature-induced cracking. Oil-based delivers unmatched durability on trim, doors, and cabinets—those high-traffic zones where latex fails.
Critical maintenance considerations we’ve documented:
- Oil over latex peels without a proper bonding primer
- Latex on wood trim requires sanding between coats due to grain swelling
- Oil-based finishes resist the scuffing and blocking problems that plague latex in heavy-use areas
Test existing paint before committing: flexible means latex, brittle indicates oil. This simple check prevents catastrophic adhesion failures.
Finish for Each Space
The sheen you select determines how your paint performs under real-world conditions—not just how it looks on application day. We recommend satin for high-traffic areas like hallways and children’s rooms because it balances finish durability with practical maintenance.
Kitchens and bathrooms need satin or semi-gloss—moisture resistance isn’t negotiable in these spaces. Your trim, doors, and cabinets perform best with semi-gloss or high-gloss finishes that withstand constant contact and cleaning.
Design considerations matter equally. Flat finishes hide imperfections but won’t survive scrubbing. Eggshell works beautifully in bedrooms where traffic stays minimal. Semi-gloss reveals every surface flaw, so preparation becomes critical.
We’ve learned that matching finish durability to room function prevents callbacks and guarantees your investment performs exactly as expected.
Primer Creates the Foundation for Long-Lasting Results
Skipping primer might save time upfront, but it’ll cost you in performance and longevity. We’ve seen countless jobs where homeowners jumped straight to topcoat, only to face peeling within months. Primer establishes substrate compatibility—whether you’re coating bare wood, metal, or glossy surfaces—creating that essential mechanical bond for paint adhesion.
Targeted primer usage transforms problematic surfaces:
- Stain-blocking formulas seal watermarks, smoke damage, and tannin bleed-through
- High-adhesion primers grip slick finishes without sanding
- Pore-filling primers create uniform bases on absorbent materials like drywall
We typically apply one coat, occasionally two over dark walls or bold patterns. Primer seals porous areas, covers imperfections, and reduces topcoat requirements. For drastic color changes—especially dark to light—tinted primer minimizes the coats needed while ensuring true color accuracy and preventing blotchiness.
Quality Tools Deliver Professional-Looking Finishes
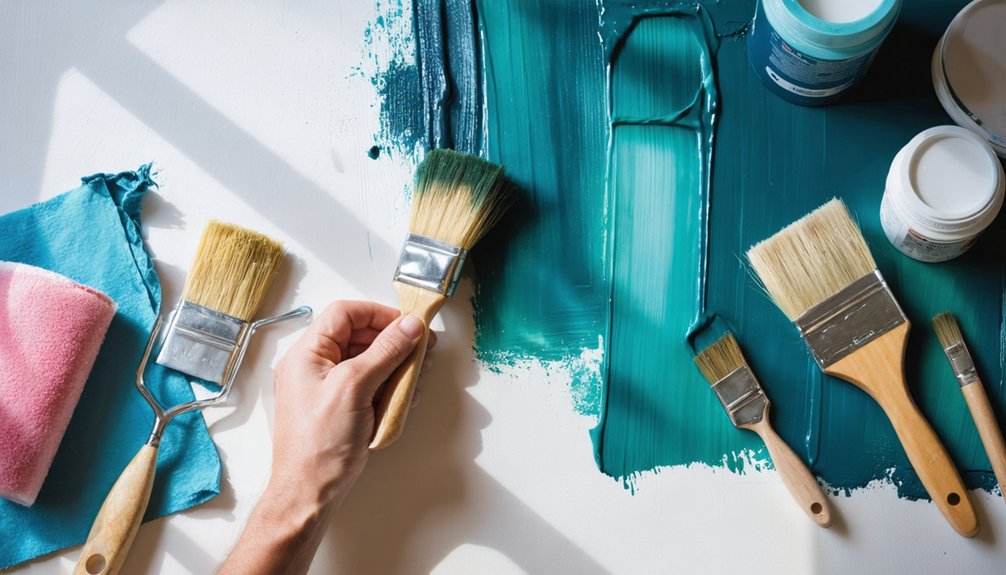
We’ve learned the hard way that bargain-bin brushes shed bristles into your finish and create visible streak patterns that even multiple coats won’t hide. The right tool for each surface—angled sash brushes for trim, microfiber rollers for walls, quality painter’s tape for edges—directly determines whether you’ll get clean lines or amateur-looking results.
Professional finishes aren’t about expensive paint alone; they’re about matching precision tools to specific applications.
Cheap Tools Create Streaks
When homeowners grab a $2 brush from the bargain bin, they’re fundamentally guaranteeing visible streaks across their freshly painted walls. We’ve watched countless DIY projects unravel because brush quality simply wasn’t there—bristles shed into the finish, handles flex under pressure, and coverage becomes patchy within minutes.
Budget tools compromise your results in three critical ways:
- Consumer brushes leave visible stroke marks that scream “amateur hour”
- Cheap rollers create orange-peel textures instead of smooth, professional surfaces
- Throwaway trays deform and spill, wasting both paint and time
Proper roller selection matters just as much. That $15 Wooster frame we’re using? It maintains consistent pressure across every square foot, delivering the even coverage that separates weekend warriors from professionals. Your walls deserve better than bargain-bin equipment.
Match Tools to Surfaces
Quality equipment solves only half the equation—the other half depends on matching specific tools to your actual painting surfaces.
We’ve learned through experience that paint quality suffers when you’re using the wrong applicator. Smooth walls demand short-nap rollers and flat sash brushes, while textured surfaces need longer naps to work paint into crevices. We select angle sash brushes for cutting in at ceilings because they hold more paint than thin versions meant for trim work.
Standard 9-inch rollers handle general walls, but we switch to 4-inch sizes for tight spaces and 18-inch for expansive areas. Synthetic bristles pair with latex paints; natural fibers work best with oil-based coatings. Different brush sizes aren’t interchangeable—each serves a specific function that directly impacts your finish quality.
Proper Application Technique Prevents Common Paint Failures
While most homeowners focus on selecting the perfect paint color, we’ve learned that application technique makes the difference between a finish that lasts fifteen years and one that fails within two. The most critical factors we monitor are moisture content oversight and air flow management—both determine whether your paint properly cures or develops premature failures.
Application technique separates fifteen-year finishes from two-year failures—moisture control and air flow management determine whether paint cures properly or fails prematurely.
We follow manufacturer specifications religiously because they’re engineered for superior performance:
- Mixing ratios and induction times guarantee consistent pigment distribution
- Temperature range of 50-85°F prevents improper curing that leads to cracking
- Adequate drying time between coats stops intercoat adhesion problems
We’ve seen countless DIY projects fail from skipping these fundamentals. Proper stirring prevents settling, appropriate tools achieve uniform film formation, and maintaining relative humidity between 40-70% eliminates bubbling and blistering.
Thin Coats Beat Thick Coats Every Time
How many paint failures could we prevent if homeowners understood one fundamental principle? Multiple thin coats always outperform single thick applications.
We’ve watched countless DIY projects crack and peel within months because thick paint can’t flex with structural movement. Thin layers self-level beautifully, eliminating brush marks and creating that glass-smooth finish that distinguishes professional work.
Each coat fills microscopic gaps missed previously while drying in one to two hours—meaning we’ll complete multiple coats in a single day. This approach guarantees minimized waste since we’re applying exactly what surfaces need. Touch-ups blend seamlessly, unlike thick coats requiring extensive rework.
We customize workload by building coverage gradually, creating durable paint films that withstand freeze-thaw cycles and UV degradation for years rather than months.
Drying Time Between Coats Cannot Be Rushed
Because paint chemistry operates on fixed molecular timelines, we can’t accelerate curing without compromising the entire finish. Oil-based paints need 24 hours between coats, while latex requires four. Premature reapplication creates gloppy, streaky surfaces that undermine your entire project—we’ve witnessed countless homeowners regret rushing this step.
Rushing paint drying times compromises molecular curing processes, resulting in streaky, gloppy finishes that ruin your entire project’s professional appearance.
Environmental control becomes critical here. High humidity interferes with solvent evaporation, leaving tacky finishes that extend drying periods considerably. We always implement moisture buildup prevention through strategic ventilation:
- Close windows and run air conditioning to reduce ambient humidity
- Position ceiling or portable fans to maintain consistent airflow across surfaces
- Deploy dehumidifiers in moisture-prone rooms
Temperature stability matters equally—fluctuations create uneven drying rates. We’ve learned that patience during this phase separates amateur work from professional results.
Environmental Conditions Affect Paint Performance

Though most homeowners focus solely on paint quality and application technique, environmental conditions determine whether that premium coating performs as intended or fails within months. We’ve learned that climate control requirements aren’t negotiable—surfaces exceeding 125°F cause blistering and porous films, while temperatures below specifications trigger pinholing and cratering.
Humidity above 85% retards solvent evaporation, creating bubbles and flaking, whereas low humidity makes films brittle and prone to cracking.
Our moisture monitoring guidelines include tracking both air and surface temperatures, since steel surfaces cool below air temperature at night, risking condensation formation. We measure the difference between surface and dew point temperatures to assess moisture risk. High humidity inhibits proper curing, while UV exposure, acid rain, and salt spray compound degradation post-application, reducing your paint’s life expectancy considerably.
Shortcuts Today Mean Costly Repaints Tomorrow
When homeowners skip fundamental preparation steps to save time or money, they’re fundamentally budgeting for a complete repaint within 18-36 months instead of the 7-10 years a properly executed job delivers. We’ve watched countless clients choose surface-level shortcuts—painting over dust, skipping primer, rushing drying times—only to call us back when peeling and bubbling appear.
True budget friendly solutions involve proper project timeline management that accounts for:
- Surface cleaning and sanding to guarantee adhesion
- Primer application preventing stains and see-through coverage
- Manufacturer-specified drying intervals between coats
Selecting paint by color alone ignores durability requirements. Using interior formulations outside causes cracking. Overloading brushes creates drips requiring extensive rework. These aren’t just aesthetic concerns—they’re structural failures that compromise your investment and demand premature replacement.
Frequently Asked Questions
How Much Does Professional Painting Typically Cost per Square Foot?
We typically charge $2–$6 per square foot for professional interior painting, though your final cost depends on estimated material costs and paint sheen considerations. Complex projects with premium finishes naturally command higher rates based on our expertise and preparation requirements.
Should I Stay Home During the Painting Process or Leave?
We’d recommend staying if we’re using low-VOC products and working room-by-room. However, you should consider temporary housing arrangements for whole-house projects or when vulnerable family members are present, especially before we provide paint color options requiring oil-based primers.
How Do I Choose the Right Painter or Painting Contractor?
We can’t stress this enough: verify credentials, check references thoroughly, and guarantee painter communication expectations align from day one. Paint quality selection matters equally—demand detailed quotes covering materials, prep work, timelines, and warranties in writing.
What Furniture Needs to Be Moved Before Painters Arrive?
We’ll handle larger pieces during paint preparation, but you should remove breakables, small décor, and valuables beforehand. Proper furniture placement means clearing pathways and moving delicate items—it protects your belongings and lets us work efficiently together.
How Long Will the Paint Smell Last After Completion?
Paint odor dissipation time varies by type—latex clears in 2-4 days, while oil-based lingers two weeks. We’ll help you implement proper ventilation techniques like cross-ventilation and fans to accelerate off-gassing and get you back home comfortably.