We’ve found that achieving professional interior painting results in Rupert requires mastering five essential techniques: thorough surface preparation with 120-220 grit progressive sanding, selecting proper tools like 3/8-inch nap microfiber rollers for smooth drywall, using FrogTape Green with caulk-seal methodology for crisp lines, applying perpendicular coat layers with 4-6 hour drying intervals, and accounting for Idaho’s high-desert climate conditions that affect paint adhesion and cure times. Our detailed guide below breaks down each step with technical specifications you’ll need for flawless execution.
Key Takeaways
- Use 2.5-inch angled sash brushes with synthetic bristles and microfiber roller covers for smooth latex paint application.
- Fill holes with spackling compound, sand surfaces with 120-220 grit sandpaper, and cover floors before painting begins.
- Apply FrogTape with thin caulk bead, smooth with finger, and remove tape while paint is still wet.
- Paint trim first, allow 24 hours to dry, then paint walls to prevent drips on finished surfaces.
- Apply two coats rolling top to bottom, allowing 4-6 hours drying time between coats at 70°F.
Essential Tools and Supplies for Professional Results
Achieving professional-grade interior painting results requires five essential tool categories: brushes, rollers, surface protection materials, application accessories, and safety equipment.
Professional interior painting demands proper equipment across five critical categories: quality brushes, reliable rollers, protective materials, application tools, and essential safety gear.
We’ll need a 2.5-inch angled sash brush with synthetic bristles for latex applications and a 2-inch version with extended handle for cutting in edges. Quality paint selection pairs with premium brands like Wooster, Purdy, and Corona to guarantee bristle marks are eliminated.
For wall coverage, we recommend 9-inch roller frames with microfiber covers—3/8-inch nap for smooth drywall, 3/4-inch for textured surfaces. Canvas drop cloths and blue painter’s tape secure clean lines along baseboards and trim.
Our application toolkit includes paint trays with liners, adjustable extension poles, and stir sticks. Reliable tool maintenance through proper roller and brush cleaners prolongs equipment lifespan, while a rated ladder and safety goggles complete our professional setup.
Proper Surface Preparation Techniques
Before we apply the first coat of paint, we’ll need to address three critical preparation phases that directly impact your finish quality.
First, we’ll patch all surface imperfections using spackling compound and proper filling techniques to create a uniform substrate.
Then we’ll sand these repairs and existing glossy surfaces to achieve the matte finish necessary for ideal paint adhesion, followed by clearing the workspace and protecting adjacent surfaces from overspray and spatter.
Patching and Repairing Surfaces
Proper surface preparation separates professional-quality paint jobs from amateur results, and patching damaged surfaces constitutes the foundation of this critical phase. We’ll address common repair issues systematically: apply spackling compound to cracks, holes, and dents using putty knives for even distribution. Fill nail holes with red Bondo glazing putty, ensuring complete coverage. In Rupert’s humid climate, we recommend humidity-resistant fillers to prevent adhesion failure.
After patches dry fully, feather edges lightly—avoid heavy sanding that creates irregularities. Inspect for lows around knots or previous fillers; reapply compound as needed. Blend repairs seamlessly into surrounding surfaces by tapering junctions with fine sandpaper. Remove all residue with vacuum or damp cloth before finishing coats. This meticulous approach creates uniform substrate, eliminating surface imperfections that telegraph through paint layers.
Sanding for Paint Adhesion
Once patches cure completely, sanding creates the mechanical profile necessary for paint adhesion and surface uniformity. We’ll progress from 120-grit medium sandpaper to degloss shiny finishes and level patched areas, then advance to 150-220 grit for refined texture.
On wood surfaces, we’ll follow grain direction with medium grit to open pores. Glossy walls demand thorough scuffing with abrasive pad selection appropriate for creating adequate tooth without deep scratching. We’ll maintain circular motions to prevent visible scratch marks and keep our sanders moving constantly to avoid gouges.
After sanding, surface roughness testing through tactile assessment verifies we’ve achieved proper mechanical grip. We’ll complete preparation by wiping with damp microfiber cloths and tack cloth to remove all sanding dust before priming begins.
Clearing and Protecting Spaces
While sanding establishes proper tooth for adhesion, protecting spaces from paint contamination demands equal attention to maintain project efficiency and prevent costly damage.
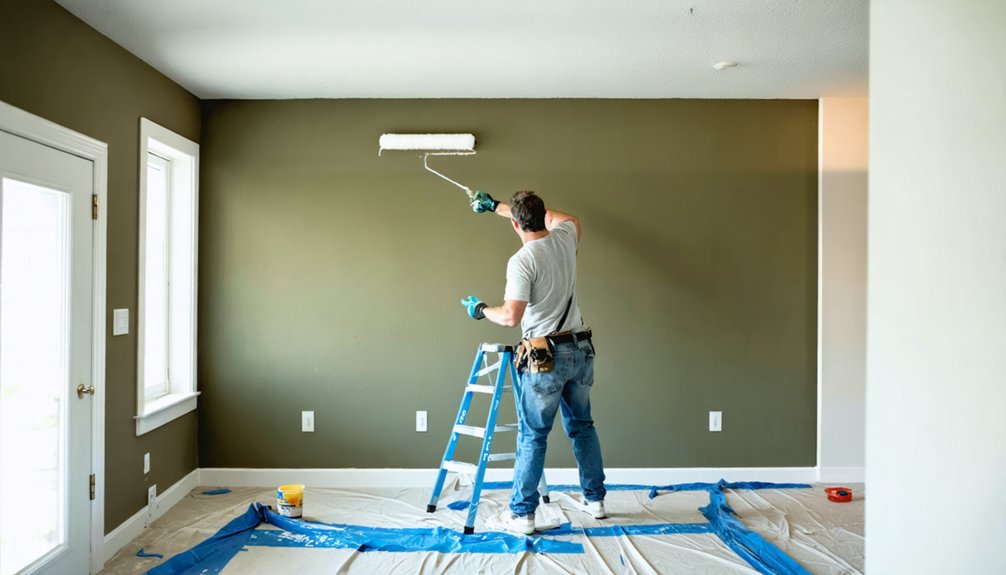
We’ll begin staging rooms by relocating furniture to the center or removing it entirely, then covering everything with drop cloths. Complete floor coverage protects carpets and hardwood from irreversible stains.
We’ll remove wall decor, light switch plates, and electrical outlet covers before application begins. Applying painter’s tape to corners, edges, trim, moldings, and baseboards creates crisp lines and prevents overlap. We’ll mask glass surfaces and any immovable contents thoroughly.
Proper time management during this phase prevents mid-project interruptions and material waste. These protection measures transform chaotic workspaces into controlled environments where we’ll achieve professional results efficiently.
Mastering the Taping and Caulking Method
Achieving professional-grade paint lines consistently depends on the precise execution of the taping and caulking method, a technique that creates an impenetrable barrier against paint bleed-through. We’ll use FrogTape Green for its moisture-activated polymer that seals edges perfectly. After firmly adhering tape to your surface, apply a thin bead of clear caulk using proper caulk gun technique—maintaining even pressure prevents inconsistent application.
Immediately perform excess caulk removal with your finger, smoothing the bead while eliminating surface buildup. Paint while the caulk remains wet using soft filament brushes, applying light strokes that pull away from the tape edge. This timing prevents paint from bridging the gap between tape and wall. Remove tape immediately while paint stays wet, pulling flat and evenly to reveal crisp, professional lines.
Step-by-Step Painting Process
We’ll now cover the technical execution sequence that guarantees professional-grade results in your Rupert home. The debate between trim-first versus walls-first application, proper inter-coat timing intervals, and environmental control for ideal cure rates directly impacts finish durability and appearance.
Understanding these critical variables allows you to replicate contractor-level quality while avoiding common failures like roller marks, lap lines, and premature paint degradation.
Trim Before Walls Strategy
When you paint trim before walls, you’ll achieve cleaner lines and faster results than the reverse approach. We recommend proper priming sequencing that begins with crown molding, progresses through window frames and door frames, then concludes with baseboards. This top-to-bottom workflow prevents drips from marring finished surfaces below.
After applying your trim’s final coat, we permit a complete 24-hour drying period before starting wall preparation. This curing time guarantees finishing painted trim won’t smudge or peel when painter’s tape contacts edges during wall work. Any minor paint splatters on walls from trim application get covered during the subsequent wall painting phase, eliminating touch-up work.
Our systematic approach streamlines your project timeline while delivering professional-grade results that showcase your attention to craftsmanship.
Applying Multiple Coat Layers
Multiple coat layers build film thickness and guarantee uniform color development across your interior surfaces. We’ll guide you through the professional techniques that confirm flawless results in Rupert’s variable climate conditions.
Our proven four-step coating process:
- First coat application – We roll from top to bottom with 3-5 inch overlaps, maintaining wet edges and consistent pressure. This stabilizer coat evens absorbency across your walls.
- Drying inspection – We monitor drying times (typically 4-6 hours for latex at 70°F), then check for holidays, thin spots, and roller lint before proceeding.
- Second coat technique – We apply perpendicular to the first coat direction, using heavier coverage for optimal hide and 3-4 mils dry film thickness.
- Quality verification – We validate proper millage using wet-film gauges per manufacturer specifications.
Optimizing Drying Time Conditions
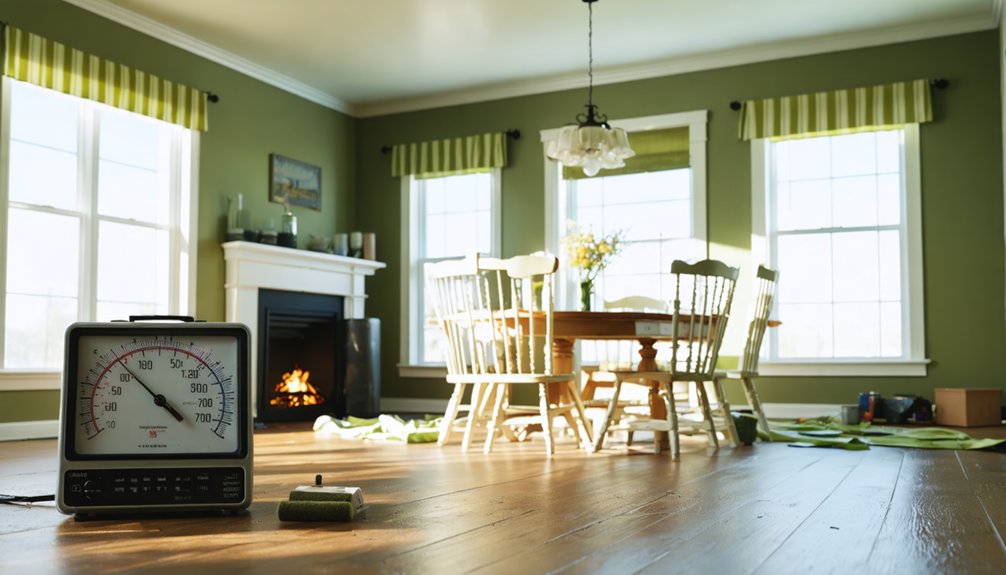
After completing your final coat application, proper environmental controls determine whether your paint cures correctly or develops surface defects. We’ll maintain temperatures between 50-90°F, with latex performing ideally at 72°F.
When humidity management strategies become critical, we deploy dehumidifiers in moisture-prone areas since high humidity impedes evaporation and causes tackiness. We enhance ventilation using ceiling or portable fans to disperse fumes and accelerate solvent release—crucial for preventing streaking regardless of your paint applicator technique.
Latex typically achieves touch-dry status within 1-2 hours, while oil-based formulations require 6-8 hours. We verify manufacturer specifications on product labels, as quick-dry variants reach touch-dry in 15 minutes. Full cure demands up to 30 days for latex, though light room use becomes feasible after 24-48 hours.
Temperature Control for Optimal Drying
Maintaining precise temperature control during interior painting directly impacts film formation, adhesion strength, and long-term durability of the finish. We’ve identified critical parameters that separate professional-grade applications from compromised results.
Essential Temperature Control Protocols:
- Maintain 50-85°F for latex formulations – Below this threshold, curing mechanisms fail, while exceeding 90°F induces thermal shock and surface defects.
- Monitor substrate temperature independently – Cold walls below 50°F prevent proper adhesion regardless of ambient conditions.
- Implement gradual adjustments – Adjusting ambient temperature slowly prevents condensation and film disruption during the curing cycle.
- Coordinate HVAC operation strategically – We balance maintaining ideal humidity (40-50%) with temperature stability, running systems continuously during application and initial cure phases.
These protocols guarantee ideal molecular cross-linking and film integrity throughout Rupert’s variable climate conditions.
Advanced Finishing Techniques
Professional-grade interior finishes demand mastery of specialized application methods that transform standard painted surfaces into customized design elements. We’ll help you achieve sophisticated results through proven faux finishing techniques that elevate your Rupert home’s interior aesthetics.
Glazed paint finishes require applying thin, translucent layers over dry base coats using sweeping, uneven strokes. We recommend color washing for textured depth in living areas, while sponging creates softer patterns ideal for bedrooms. Metallic paint effects add dimensional richness when incorporated into specialty glazes.
Successful application depends on controlled pressure and layering multiple colors to build character. We suggest practicing dry brushing techniques to highlight architectural details, while rag rolling generates artistic texture. Premium latex or acrylic paints in matte finishes display these effects ideally without excessive sheen, ensuring durable, fade-resistant results.
Working With Idaho’s Climate Conditions
Evaluating local climate conditions requires monitoring these critical factors:
- Surface temperature maintenance: Maintain substrates above 35°F for 36 hours post-application to prevent film disruption
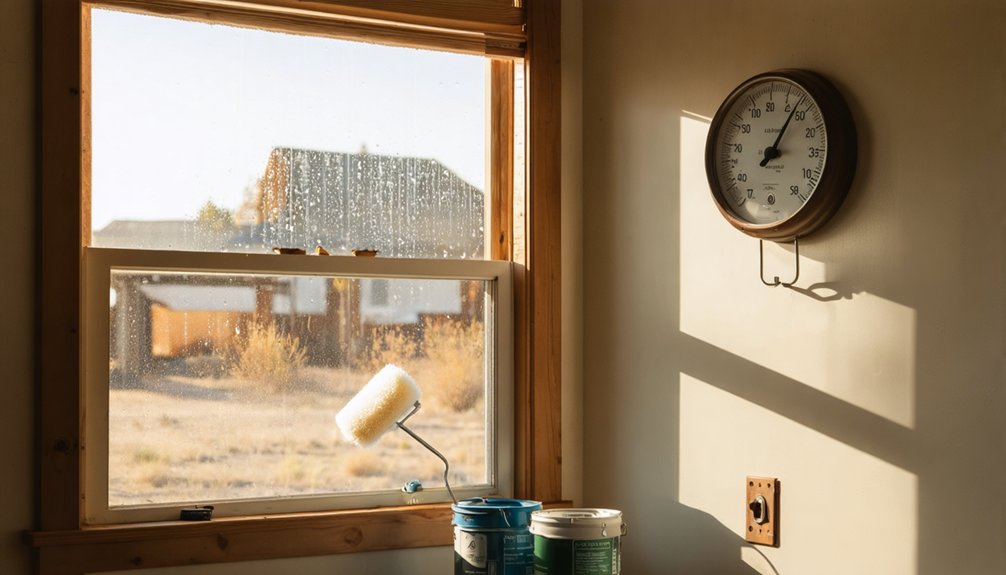
- Humidity optimization: Target 40-70% relative humidity levels to facilitate proper cure rates without compromising adhesion
- Ventilation management: Balance airflow requirements against Rupert’s low annual precipitation (9.78 inches) and arid conditions
- Thermal cycling preparation: Managing seasonal shifts between January’s 15°F lows and July’s 85°F highs demands appropriate primer selection
These parameters govern chemical cross-linking and film formation throughout our region’s distinct thermal cycles.
Foundation and Exterior Touch-Ups
While interior painting demands careful attention to environmental controls, foundation and exterior touch-ups require equally rigorous surface preparation protocols to achieve durable, aesthetically consistent results. We’ll start by removing all flaking paint and containing debris with tarps when working areas larger than a picture frame.
Successful exterior touch-ups begin with meticulous surface preparation—removing loose paint and protecting surrounding areas before any coating application.
Gentle cleaning with soft-bristled brushes and mild detergent removes grime without damaging surfaces—we avoid high-pressure washing entirely.
After thorough rinsing and complete drying, we apply primer matching our exterior paint’s base. Paint sheen considerations become critical during color matching, as fading alters original finishes. We bring paint chips to professionals for accurate formulation.
Application requires thin, feathery strokes working outward from damage centers. Two lighter coats with protective topcoat application guarantee longevity. We work during temperatures between 10°C and 30°C for optimal adhesion and curing.
Frequently Asked Questions
How Do I Choose the Right Paint Colors for Small Rooms?
We’ll help you select light-reflective neutrals like SW Alabaster or BM White Dove to maximize spatial perception. Consider vertical stripes as an advanced technique—they’ll elevate ceiling height visually while maintaining cohesive color flow throughout your compact interior spaces.
What’s the Best Way to Remove Old Wallpaper Before Painting?
We’ll score wallpaper removal methods by testing adhesive strength first, then use chemical strippers effectively on stubborn sections. Steam application works best for most installations, while vinegar solutions handle lighter adhesives in your project.
How Long Should I Wait Between Painting Coats in Humid Weather?
Hark—we recommend waiting 6-8 hours between coats when humidity levels impact your project. These drying time considerations account for moisture slowing evaporation. We’ll monitor conditions together, ensuring proper cure before recoating for professional results.
Can I Paint Over Dark Colors Without Using Primer First?
We can paint over dark colors without primer, but we’ll face significant color coverage limitations requiring multiple coats. Primer importance becomes critical for preventing bleed-through and achieving professional results, especially when moving to, or switching to, lighter shades.
What Should I Do if Paint Starts Peeling Shortly After Application?
We’ll identify affected areas first, then scrape off loose paint thoroughly. Next, we’ll diagnose the adhesion failure—checking for moisture intrusion, surface contamination, or incompatible coatings—before properly preparing and priming the substrate for reapplication.