We’ve found that successful interior painting in Filer requires three critical elements: thorough surface preparation through sanding and cleaning, maintaining temperatures between 50°F and 85°F during application and curing, and using proper two-coat techniques with W-pattern rolling to prevent lap marks. We always recommend synthetic brushes for water-based paints, damp roller covers to reduce absorption, and stain-blocking primers for challenging surfaces. Our detailed guide below covers advanced caulking methods, climate monitoring systems, and systematic workflow organization that’ll transform your project outcomes.
Key Takeaways
- Use synthetic bristle brushes for water-based paints and select appropriate sizes: 1/2-1 inch for detail work, 2-3 inch for edges.
- Sand surfaces before painting to create mechanical tooth for superior adhesion and extend paint lifespan by preventing peeling.
- Maintain ideal drying temperatures between 50°F and 85°F using HVAC systems for proper paint adhesion and curing.
- Apply two coats using W or M roller patterns to maintain wet edges and prevent lap marks between passes.
- Clean surfaces with vinegar-water solution and use stain-blocking primers to address stubborn stains before painting.
Choosing the Right Tools and Materials for Your Filer Painting Project
Before starting any interior painting project in Filer, selecting the proper tools and materials directly impacts both efficiency and finish quality. We recommend synthetic bristle brushes for water-based paints, while natural bristles deliver superior finishes on oil-based applications. Proper paintbrush selection means having 1/2-1 inch brushes for detail work, 2-3 inch for edges, and 4-6 inch for flat surfaces.
For roller application techniques, we dampen covers before use to reduce paint absorption. Trade-quality 9-inch rollers with heavy-duty cages provide even coverage on walls and ceilings. Extension poles eliminate ladder repositioning on high surfaces.
We protect work areas with canvas drop cloths and FrogTape for clean lines. Paint trays with disposable liners streamline cleanup. Always wear protective eyewear and respirators when working overhead or in enclosed spaces.
Preparing Your Interior Surfaces for a Professional Finish
We’ll guide you through essential surface preparation techniques that directly impact your paint’s longevity and appearance. Proper sanding creates mechanical tooth for superior adhesion, while removing furniture prevents coverage gaps and protects your belongings from accidental damage.
We emphasize pre-primed surfaces and methodical prep work because these foundational steps eliminate common failures like peeling, flashing, and uneven texture.
Sanding Creates Better Adhesion
Proper surface preparation directly determines paint longevity, and sanding stands as the critical step that transforms marginally acceptable surfaces into professionally finished ones. We create improved adhesion by forming microscopic abrasions that give paint something to grip. This mechanical bonding prevents peeling, flaking, and premature failure.
Our sanding protocol guarantees smoother surfaces through these essential steps:
- Remove contaminants – Eliminate oils, grime, and residues that block paint bonding
- Create tooth – Roughen glossy finishes using 220-grit sandpaper with even pressure
- Clean thoroughly – Wipe dust with tack cloth before applying primer
We’ve found that proper sanding extends paint lifespan considerably. On previously painted walls, light scuff sanding breaks the sheen. For cabinets and woodwork, we use medium-grit paper to open pores and ensure professional results.
Furniture Removal Ensures Coverage
After achieving ideal surface texture through sanding, we must address another factor that separates amateur work from professional results: clear workspace access. Proper furniture positioning eliminates obstacles that cause missed spots and uneven lines near edges. We recommend moving pieces 3-6 inches from walls rather than complete relocation, though heavier items benefit from center-room placement with protective pads underneath.
Damage prevention starts with removing delicate belongings ourselves while professionals handle larger furniture. We’ll empty bookcases against painted surfaces to lighten their weight. For remaining items, plastic wrap and drop cloths shield against splatter. We should also remove outlet covers, wall hardware, and electronics to guarantee no debris compromises our fresh paint application.
Pre-Primed Surface Preparation
Before applying primer, we must eliminate contaminants that compromise adhesion and create visible defects in the finished coat. Tackling stubborn stains requires stain-blocking primers like PrepRite ProBlock on water, smoke, or grease marks to prevent bleed-through.
Addressing moisture issues means treating mildew with a 3-4 parts water to 1 part bleach solution—always wear gloves and goggles during this process.
Our surface preparation follows this sequence:
- Clean thoroughly using vinegar-water solution (1 pint per gallon) on porous plaster until hardened
- Fill and repair nail holes, cracks, and damaged areas with patching compound until completely dry
- Sand smooth using fine-grit sandpaper on water-based surfaces or medium-grit (100-150) on oil-based finishes
We remove all dust with tack cloth before priming to guarantee professional results across every project.
Mastering the Two-Coat Application Process
Achieving professional-grade interior finishes requires systematic execution of the two-coat application process, where each layer serves a distinct purpose in building color opacity, surface protection, and long-term durability. We start by stirring paint thoroughly and cutting in edges with our angled sash brushes, feathering strokes for seamless blends. Rolling in W or M patterns while maintaining wet edges prevents lap marks.
After allowing 4–6 hours dry time, we inspect for holidays and thin spots, sanding imperfections with fine-grit paper before wiping dust completely.
For final coat application, we roll perpendicular to our first pass, mixing all cans into a single bucket for shade consistency. This builds our target 3–4 mils thickness. Our touch up techniques include light corner work and systematic coverage verification, ensuring washability and uniform color development throughout.
Managing Idaho’s Climate Conditions During Interior Painting
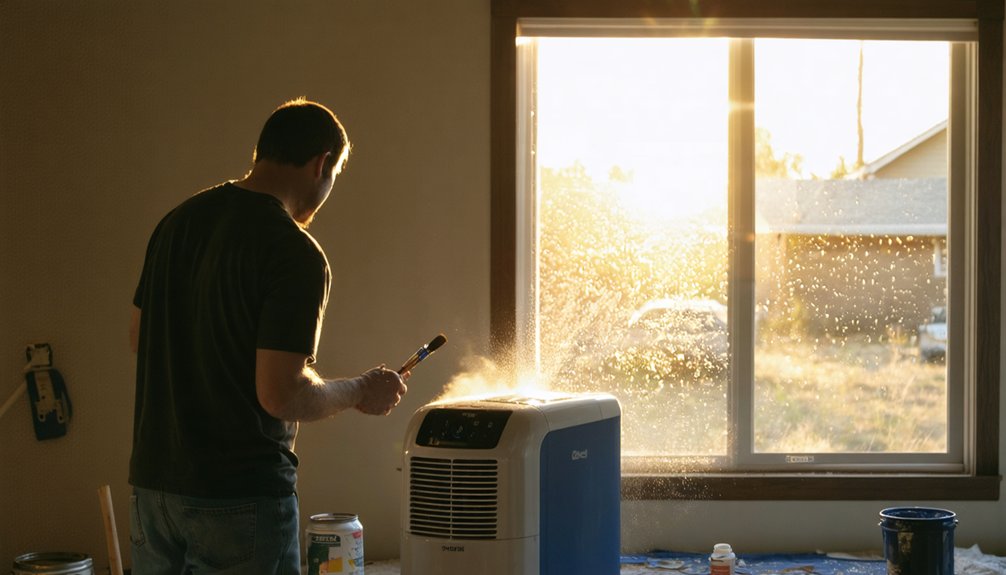
We’ll now address how Idaho’s unique climate affects interior painting, focusing on three critical factors: maintaining ideal drying temperatures, implementing effective winter heating strategies, and controlling indoor humidity levels.
These environmental conditions directly impact paint adhesion, curing time, and long-term finish quality. By managing temperature ranges between 50°F and 85°F, regulating moisture levels between 40-50% humidity, and ensuring proper air circulation, you’ll achieve professional results that withstand Idaho’s seasonal variations.
Optimal Temperature for Drying
Since interior paint requires specific environmental conditions to cure properly, maintaining the right temperature during your Filer home’s painting project directly impacts the finish quality and longevity. We’ll need to understand paints’ temperature tolerance to achieve professional results. The impact of extreme cold prevents proper bonding below 50°F, while excessive heat above 90°F causes premature surface skinning and cracking.
Follow these temperature guidelines for ideal drying:
- Maintain room temperature between 50°F and 80°F throughout application and curing
- Keep latex paints within 50°F to 85°F range, oil-based between 40°F and 90°F
- Guarantee wall surfaces match room air temperature before starting
Idaho’s winter heating systems help us maintain steady indoor conditions. We’re fortunate that our HVAC systems provide the consistent 60°F minimum needed for proper paint bonding and durability.
Winter Heating Strategies
Idaho’s winter climate creates ideal conditions for interior painting projects, as our naturally dry air accelerates paint curing while home heating systems maintain the stable temperatures required for proper adhesion. We’ll achieve superior results by running HVAC systems at normal room temperature throughout the application process, ensuring temperature stability that prevents adhesion failures or surface imperfections.
Our approach includes strategic air circulation using fans or opening doors between interior rooms, which promotes even drying without exposing spaces to cold drafts. We recommend sealing window gaps and installing weather stripping to maintain consistent warmth while the paint cures. By selecting low-VOC products designed for winter conditions, we can complete professional-quality projects in closed environments without compromising indoor air quality or comfort levels.
Humidity Control Methods
Maintaining proper temperature during winter projects sets the foundation, but controlling humidity levels determines whether our paint adheres correctly and cures without defects. We target 40–50% RH throughout application and curing phases.
Our humidity control protocol includes:
- Digital monitoring systems – We use hygrometers and smart sensors to track RH fluctuations, since each 10% increase above 50% prolongs drying time by 20–30%.
- Dehumidifiers with air ventilation systems – Running dehumidifiers drops RH from 65% to 45% quickly, while fans improve circulation without blowing directly on wet surfaces.
- Pre-paint moisture assessment – We verify dry walls with moisture meters, inspect for leaks, and guarantee vapor barrier installation addresses basement moisture before priming.
We maintain stable conditions for 2–4 weeks post-painting to prevent adhesion failures.
Achieving Perfect Edges With Advanced Caulking and Taping Techniques
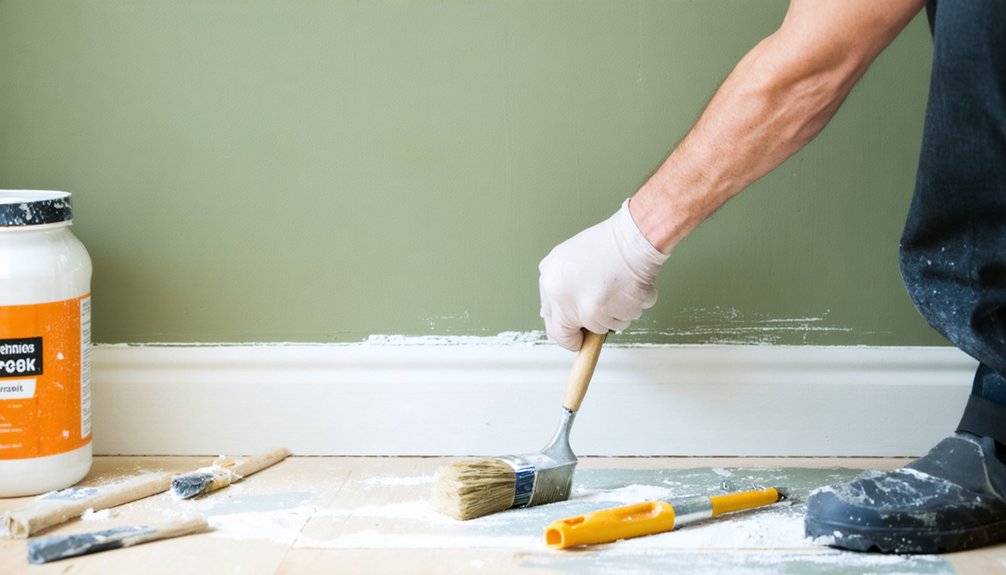
When properly executed, caulking and taping techniques form the foundation for sharp, professional paint lines that distinguish amateur work from expert results. We’ll guide you through advanced caulking application that guarantees long lasting caulk durability.
First, remove deteriorated caulk using a utility knife, then clean and dry all surfaces thoroughly. Apply painter’s tape along gap edges, pressing firmly to prevent bleed-through. For water-exposed areas, we recommend silicone-based products. Interior trim benefits from acrylic latex caulk’s paintability.
Load your caulking gun and maintain consistent pressure while moving steadily along the joint. Keep bead depth at half the joint width. Smooth within ten minutes using a dampened tool with long, steady strokes.
Allow proper cure times before painting—GE Siliconized Advanced Acrylic requires just thirty minutes.
Creating Clean Cut-In Lines and Flawless Trim Work
After you’ve mastered caulking and taping fundamentals, cutting in represents the next critical skill that separates professional-quality results from amateur paint jobs. We’ll guide you through proven painter’s tape techniques that create sharp boundaries.
Essential Cutting-In Steps:
- Load your brush covering only one-third of bristles, then double-tap against the tray to control paint flow
- Hold the brush at a slight angle, pushing a small bead into a straight line with consistent pressure
- Always paint baseboards first, then cut in walls for precise trim lines
For cut in line correction, we stipple our roller close to edges, blending away any halo effect. When light spots appear, recut downward using high-end paint. Remember, patience and practice develop the steady hand control that defines quality workmanship in our community.
Organizing Your Workflow for Consistent Results Throughout Your Home
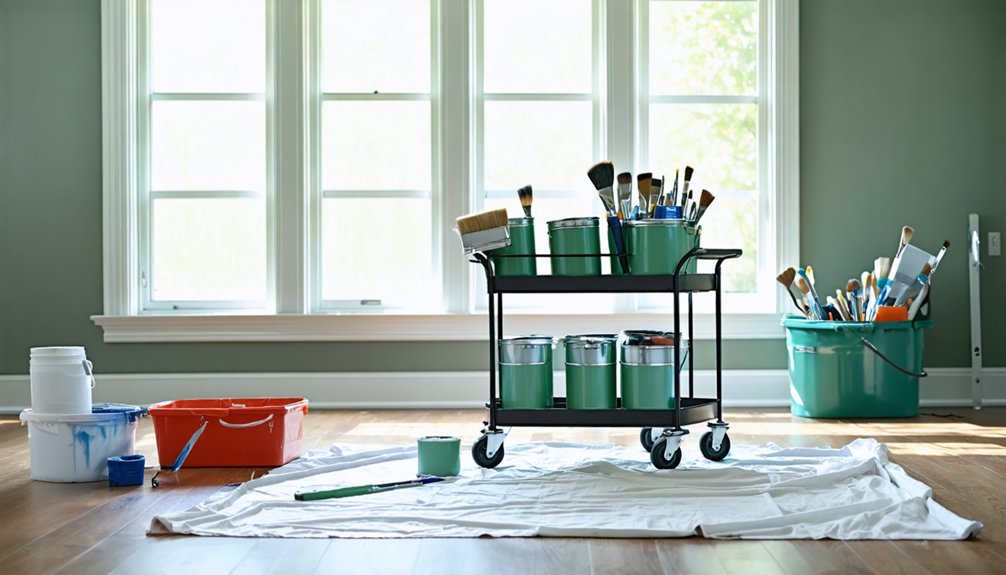
Perfect cutting-in technique means nothing if you can’t replicate those results across multiple rooms in your Filer home. We achieve consistency through decluttering organization tactics that streamline our supplies.
First, we sort materials by workflow stage—prep, application, and finishing—keeping only functional necessities within arm’s reach. Our intentional workspace layout positions cleaning supplies near the main work area while utilizing vertical storage for paint cans.
We conduct daily team huddles to sequence tasks logically, tackling walls before trim work. This prevents workflow disruptions that compromise quality. Between coats, we implement strict cleaning routines: wiping surfaces, returning tools to designated spots, and securing paint lids overnight.
Frequently Asked Questions
How Long Should I Wait Between Paint Coats in Filer’s Dry Climate?
We recommend waiting 2-4 hours between latex coats in Filer’s dry climate. With humidity levels often below 40%, proper paint drying time accelerates, but we’ll maintain humidity level considerations to prevent lap marks and guarantee favorable adhesion for your project.
Can I Paint Interior Walls During Filer’s Cold Winter Months?
Yes, we can paint interior walls during winter in Filer. We’ll manage low humidity challenges with proper ventilation and maintain temperatures above 50°F. Short daylight hours won’t affect us indoors—we’ll guarantee safe, controlled conditions for ideal adhesion.
What’s the Best Room Temperature for Painting Interiors in Idaho Homes?
We’ll achieve best results maintaining 60°F to 75°F with 40-70% ideal humidity levels. Paramount lighting conditions help us spot imperfections during application. Let’s guarantee proper ventilation while keeping temperatures consistent for safe, professional-quality finishes together.
Should I Remove All Furniture Before Starting an Interior Painting Project?
You don’t need to remove everything—we’ll help you tape furniture edges and cover floors with drop cloths. We recommend relocating valuables and fragile items, while we’ll safely move larger pieces away from walls as needed.
How Do I Prevent Paint Fading From Filer’s Intense Sunlight Exposure?
We’ll protect your interior from Filer’s intense sunlight by using high-quality UV-resistant paint formulations and applying window tinting film to reduce direct exposure. These proven methods safeguard our walls while maintaining proper ventilation during application.