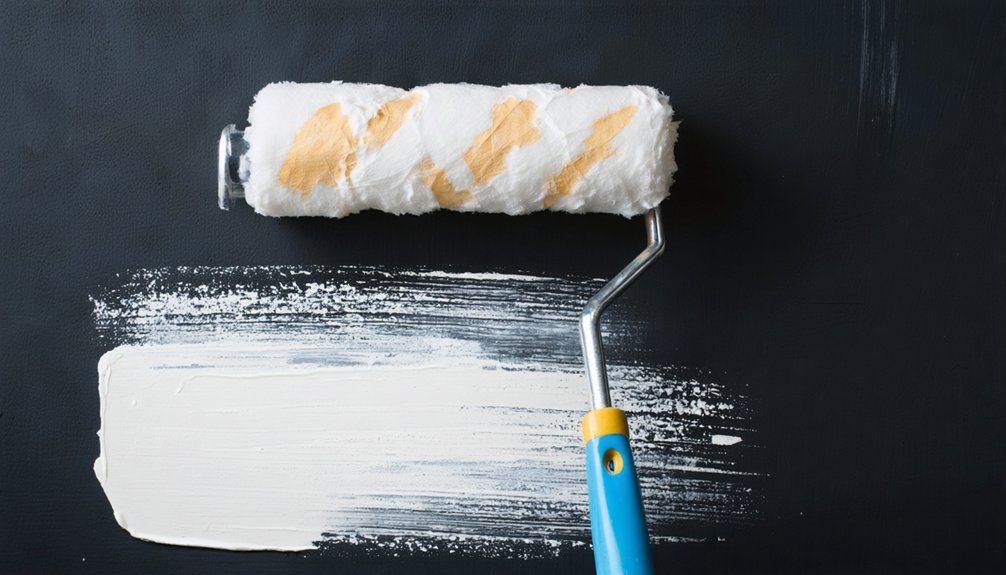
We’ll start by thoroughly cleaning your walls and testing paint adhesion with painter’s tape, then fill any holes with spackle. Next, we’ll apply a high-hide, tinted primer using a 3/8″ nap roller in overlapping W-patterns to create a neutral base layer. After the primer dries, we’ll build coverage through multiple thin topcoats rather than one heavy application. This systematic approach guarantees complete color transformation without breakthrough spots, and we’ll share the specific techniques that professional painters use to achieve flawless results.
Key Takeaways
- Clean, sand, and repair wall surfaces to ensure proper paint adhesion and smooth finish.
- Use high-hide primer tinted light grey or white to block dark colors and create neutral base.
- Apply primer using 2-3 inch edge cuts and overlapping W-patterns with 3/8″ nap roller for even coverage.
- Allow primer to dry completely, then inspect for dark spots requiring second primer coat before topcoat.
- Build final color with multiple thin topcoat layers rather than one thick application for best results.
Assess and Prepare Your Walls for Painting
Before applying primer or paint, we must thoroughly clean the wall surface to remove accumulated dust, grease, and grime that dark colors mask effectively. Use a damp cloth or TSP solution to eliminate surface contaminants, then allow complete drying before proceeding.
Proper wall preparation begins with removing dust, grease, and grime hidden beneath dark paint using a damp cloth or TSP solution.
Next, we’ll inspect surface contaminants including mildew and failing paint that require remediation. Test existing paint adhesion by pressing painter’s tape firmly against the surface and pulling quickly—peeling paint indicates necessary stripping or sanding.
Fill nail holes with spackle and address larger damage using joint compound. Remember, light colors expose every imperfection previously concealed by dark finishes. Sand all repairs smooth after full curing.
Finally, light sanding of existing painted surfaces improves adhesion and coverage, reducing the total coats required for complete transformation.
Choose the Right Primer for Your Color Transformation
When covering dark walls with lighter colors, high-hide primers form the critical foundation that determines whether we’ll need two topcoats or five. Professional-grade formulas with thick, high-hide properties prevent darker shades from bleeding through, saving us significant time and materials.
Essential primer specifications for dark-to-light transformations:
- Primer viscosity: Medium-viscosity formulas apply effectively with 3/8 professional-grade rollers, delivering thick bonding coverage that thin alternatives can’t match
- Primer adhesion properties: Quality formulas guarantee our topcoat sticks properly without sliding or peeling, sealing surfaces completely
- Pigmentation strength: Non-absorbent acrylic colored primers remain saturated even when diluted, maintaining coverage integrity
We’ll typically need a second coat after the initial 24-hour curing period, especially when covering extremely bold previous colors. Lacquer-based primers outperform water-based alternatives in coverage strength.
Apply Primer Using Proper Techniques
We’ll start by cutting in a 2-to-3 inch band of primer along all edges, corners, and trim using a tapered brush before moving to the roller.
When rolling the main wall surface, we’ll work in overlapping W-patterns rather than straight lines to distribute primer evenly and prevent visible roller marks. The key is blending each section’s wet edges into adjacent areas before the primer begins to tack up, ensuring uniform coverage without lap lines or streaking.
Cut In Edges First
Since dark wall colors require maximum coverage to prevent bleed-through, we’ll start the primer application by cutting in all edges before using a roller. Using a 2-inch to 3-inch angled brush, we’ll work systematically from the top corners across each wall section.
Our cutting-in process follows these essential steps:
- Apply blue painter’s tape along ceiling edges, windows, floorboards, and all trim to create clean boundaries
- Begin at top corners and work methodically across to opposite corners, maintaining consistent brush pressure
- Cover tight spaces thoroughly along all tape edges and wall perimeters before the primer begins setting
Even primer application during cutting in ensures seamless brush to roller movement. We’ll blend our brush strokes carefully with subsequent roller coverage, creating the uniform base coat necessary for concealing dark colors.
Roll in W-Patterns
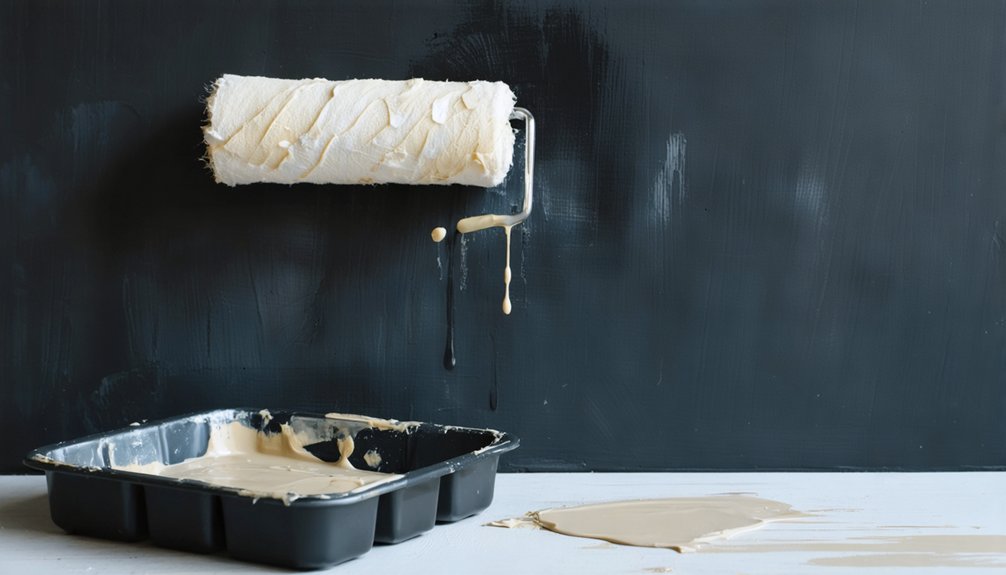
After completing the edge work, we apply primer using the W-pattern technique to achieve uniform coverage across the wall surface. We fully saturate our roller before application, ensuring it doesn’t drip when moved from tray to wall. The W-pattern spans 24-32 inches—approximately one arm’s length—preventing lap marks between sections.
Our roller nap selection directly impacts coverage efficiency. Traditional woven rollers apply thicker coats, ideal for dramatic dark-to-light shifts requiring fewer applications. Microfiber rollers work best with neutral tones but necessitate additional coats.
We apply firm pressure during initial angled strokes to unload paint, gradually increasing pressure as the roller depletes. Paint saturation levels must remain consistent throughout application. Light finishing strokes eliminate visible roller marks, creating professional-grade results across each section.
Blend Strokes Before Drying
Blending wet paint sections prevents visible seams from forming as primer dries on the wall. We’ll work methodically to integrate roller coverage with our brushed borders, ensuring uniform application across the entire surface. This technique eliminates ridges and creates professional-grade results.
Critical blending steps include:
- Overlap roller strokes into wet brush borders by two inches while primer remains workable
- Monitor drying times vigilantly—blend within 5-10 minutes before tackiness develops
- Feather edges using light pressure on the roller to eliminate demarcation lines
As we observe primer application, we’ll notice how proper blending prevents the patchy appearance common with dark wall coverage. Working in manageable sections allows adequate time for integration before the primer begins setting, which is essential for achieving seamless coverage underneath our lighter topcoat.
Paint Your Walls With Multiple Thin Coats
Multiple thin coats deliver superior coverage and color uniformity when shifting from dark to light wall colors. We’ll apply our first topcoat using W or M shaped strokes with a quality roller featuring ⅜” to ½” nap, maintaining a wet edge for seamless application across each section.
After this coat dries to the touch, we’ll inspect for breakthrough spots where the original dark color shows through. If we notice traces, we’ll apply a second primer coat before proceeding.
Our second topcoat follows the same technique, building consistent coverage through multiple thin layers rather than one heavy application. We’ll allow each coat to dry completely per manufacturer specifications, resisting the urge to rush the process. This methodical approach guarantees balanced color without compromising adhesion or uniformity.
Select the Best Tools and Equipment for the Job
Quality tools determine the difference between a professional finish and visible imperfections when covering dark walls with lighter paint. We’ve found that choosing high quality brushes—specifically 2.5″ angled varieties—guarantees clean cutting lines along edges and trim. Understanding primer properties helps you select stain-blocking formulations that prevent dark colors from bleeding through your lighter topcoat.
Your essential equipment includes:
- Premium roller system with appropriate nap thickness for even paint distribution across large surfaces
- High-opacity primer tinted in light grey or white to create a neutral base layer
- Professional-grade angled brush for precision work in corners and tight spaces
We recommend investing in proper surface preparation tools like fine-grit sandpaper, tack cloth, and TSP cleaner. These foundational items ensure optimal paint adhesion and coverage consistency.
Set Realistic Expectations for Complete Coverage
When covering dark walls with lighter paint, understanding the technical realities of color transformation prevents frustration and verifies adequate material planning.
We’ll need at least two coats for most projects, with stubborn colors like black, deep navy, or forest green demanding three or more applications. Patience and realistic timeline planning form our foundation—rushing with thick, globby coats produces inferior results.
Premium paints offer superior hiding power through concentrated pigments and advanced binders, while primer creates a blocking layer that dramatically reduces required topcoats.
Proper lighting assessment proves critical: we must evaluate dry paint under natural daylight from multiple angles, as wet paint misleads and artificial lighting obscures imperfections. This methodical approach confirms complete, professional-grade coverage.
Frequently Asked Questions
How Long Should I Wait Between Primer and Paint Application?
We recommend waiting 1-3 hours for water-based primers before coat application. Oil-based formulas require 6-8 hours minimum. Paint drying time depends on humidity and temperature—we’ll achieve ideal adhesion by following manufacturer specifications for your specific primer type.
Can I Paint Over Dark Wallpaper or Must I Remove It?
We’ve tackled seemingly impossible wallpaper painting preparation challenges! You can paint over dark wallpaper if it’s stable and properly primed. However, wallpaper removal considerations include heavily textured surfaces, multiple layers, or damaged substrate—removal becomes essential then.
What Temperature and Humidity Levels Are Ideal for Painting Walls?
We’ll achieve desirable results painting between 60°F-75°F with 40-50% humidity. Guarantee optimal airflow ventilation using fans or open windows, and maintain suitable lighting conditions to monitor coverage consistency when applying lighter colors over dark surfaces.
Should I Paint the Ceiling Before Addressing Dark Colored Walls?
We’ll paint the ceiling first to establish our top-to-bottom workflow. Consider coordinating ceiling color with your lighter walls, and utilize light reflecting paint on ceilings to maximize brightness while protecting primed surfaces below.
How Do I Prevent Lap Marks When Painting Large Wall Sections?
We’ll prevent lap marks by maintaining a wet edge through proper paint roller technique—loading adequately, applying overlapping W-patterns, and back-rolling without reloading. Using an extension pole helps us work quickly across large sections before edges dry.