We prepare Gooding homes for painting by first monitoring weather forecasts to guarantee surface temperatures stay between 50°F and 85°F with 40-70% humidity. We pressure wash exterior surfaces using substrate-specific techniques, then mechanically remove all peeling paint with scrapers and sanders. We fill cracks with mesh-reinforced joint compound, address nail holes with shrink-free spackling, and sand progressively from 80-grit through 220-grit for ideal adhesion. Our systematic approach accounts for Idaho’s intense UV exposure and temperature swings that demand weather-stable coating systems, and we’ll explain each critical step below.
Key Takeaways
- Monitor Gooding’s weather patterns to maintain surface temperatures between 50°F and 85°F with 40-70% humidity during application.
- Pressure wash exterior surfaces using substrate-appropriate techniques: soft washing for stucco, high-pressure for concrete, working top-down.
- Remove all peeling paint with scrapers and sanders, using steam assistance for stubborn latex-over-oil layers.
- Fill cracks with fiberglass mesh tape and joint compound; use appropriate fillers for nail holes, trim, and siding gaps.
- Sand progressively from 80-grit to 220-grit, prime bare substrates, and apply multiple thin coats for optimal adhesion.
Understanding How Weather and Timing Impact Your Painting Project
When planning exterior painting in Gooding, Idaho, we must account for the region’s volatile weather patterns that directly affect paint adhesion, curing rates, and long-term durability.
Our community faces unique challenges from extreme temperature swings and high desert conditions that demand precision timing. We’ll achieve ideal results by maintaining surface temperatures between 50°F and 85°F during application and monitoring humidity levels to stay within the 40-70% range.
Tracking weather forecasts for multi-day stability prevents costly failures from unexpected temperature drops or precipitation. The region’s intense UV exposure and occasional hailstorms require us to select weather-stable, flexible coating systems.
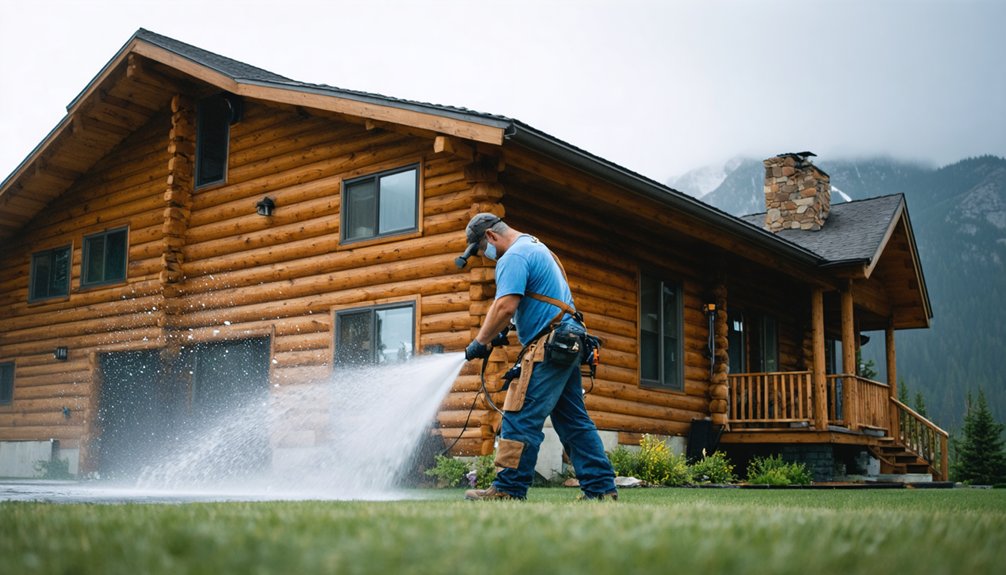
Cleaning Your Home’s Exterior Surfaces
Before we apply any coating system in Gooding, we’ll execute a thorough surface decontamination protocol that removes organic growth, oxidized material, and accumulated particulates—contaminants that compromise mechanical adhesion and accelerate coating failure.
Our pressure washing techniques vary by substrate: we’ll employ soft washing (low-pressure application with extended dwell times) for vinyl siding and stucco, while concrete receives high-pressure treatment. Selecting appropriate cleaners depends on material compatibility—we’re using bleach-soap solutions for siding, vinegar-based mixtures for wood, and oxygen bleach for mold remediation. We’ll test inconspicuous areas first, then work top-down in sections, allowing five-minute solution activation before rinsing.
For compromised wood or aging finishes, we’ll substitute garden hose methods with soft-bristle agitation, preventing substrate damage while achieving ideal surface preparation.
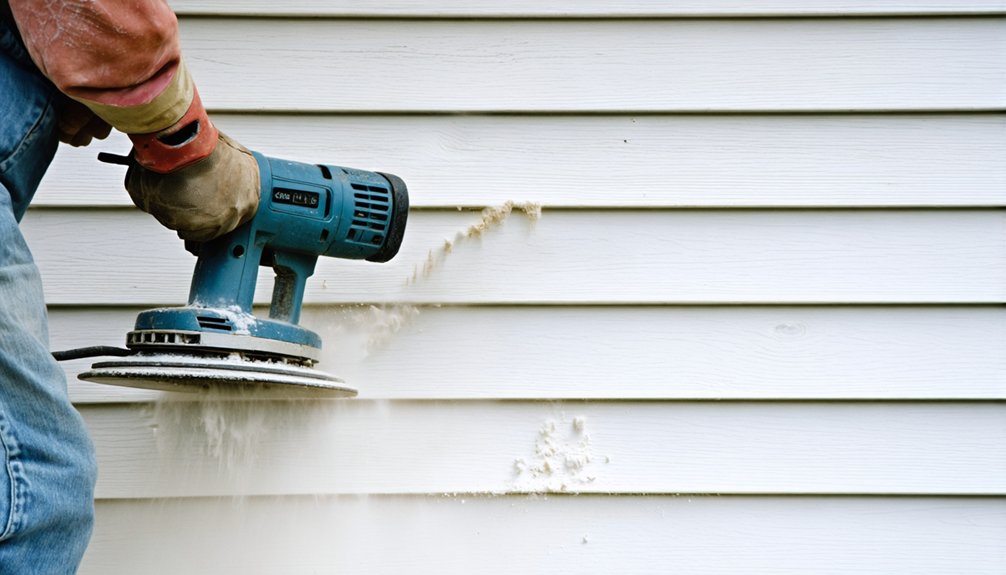
Removing Loose and Peeling Paint
Once substrate decontamination achieves complete dryness (typically 48-72 hours in Gooding’s high-desert climate), we’ll initiate mechanical paint removal to eliminate all delaminated coating layers—a critical step that prevents telegraphing failures through new paint systems.
Our paint scraping methods begin with flat knife insertion under peeling edges, lifting upward until reaching sound substrate. We’ll employ steam assisted paint removal for stubborn latex-over-oil scenarios: charging the steamer for 15 minutes, then applying 20-second pulses while working top-to-bottom. Wire brushes address residual flakes post-steaming.
Following scraping, we’ll deploy 100-120 grit sandpaper on blocks for detailed areas, shifting to electric sanders for aggressive profile creation. This establishes proper tooth for primer bonding—we recommend Kilz Adhesion or Zinsser Extreme Adhesion formulations for maximum intercoat adhesion on challenging substrates.
Filling Holes, Cracks, and Gaps
The foundation of flawless paint adhesion rests upon properly filled surface defects—we’ll now address every hole, crack, and gap using substrate-specific repair compounds that prevent future coating failure.
Using the proper tools starts with shrink-free spackling for nail holes, which we’ll overfill slightly and press in with our fingers. For wall imperfections, properly evaluating crack severity determines our approach: we’ll undercut at 45 degrees, apply fiberglass mesh tape, then build multiple thin joint compound layers.
Interior gaps require painters’ caulk at ceiling joints and trim, while wood filler handles miter joints. Exterior applications demand paintable caulking at siding junctions. We’ll prime all bare substrates before caulking, sand dried fillers smooth, and seal repairs with primer—creating the perfect foundation for your coating system.
Sanding for a Smooth, Even Surface
After filling imperfections, we’ll sand the entire surface to create proper mechanical adhesion for your new coating system. We recommend working through progressive grits—starting at 80-grit for rough areas, moving to 120-grit for general smoothing, then finishing with 220-grit to achieve a uniform base that promotes ideal paint bonding.
If you’re dealing with severely weathered or damaged siding that won’t respond to sanding and filling, we’ll need to replace those sections before proceeding with surface preparation.
Creating a Uniform Base
Proper surface preparation requires systematic sanding to establish a suitable foundation for paint adhesion and finish quality. We’ll begin with 180-240 grit sandpaper on bare surfaces, then apply thin primer coats sanded to 240 grit for enhanced smoothness.
The order of sanding steps progresses methodically: start by raising wood grain through wetting, drying, and sanding with 600 grit. Between types of primer application, we’ll use 220 grit sanding sponges lightly on each coat except the final one.
For uniform gesso bases, we’ll repeat application and fine-grit sanding cycles. Progress to 400-600 grit between subsequent coats for that dead smooth feel we’re after. Multiple thin coats with intermediate sanding consistently outperform fewer thick applications, ensuring ideal surface uniformity throughout your Gooding home.
Replacing Damaged Siding
Before applying fresh paint to your Gooding home’s exterior, we’ll systematically address compromised siding through careful damage examination and targeted repairs. When assessing moisture content, we look for green or black streaks indicating mold growth from water infiltration. Holes exceeding one inch diameter require complete panel replacement rather than filling.
We’ll cut out damaged sections using a pry bar, then measure replacement pieces precisely to account for overlapping joints. When securing new siding, we use galvanized nails that resist Idaho’s weather cycles and prevent rust staining. We’ll apply caulk to exposed J-channels and seams, creating weathertight barriers.
For minor damage, we press wood filler into cracks with a putty knife, sand smooth with 220-grit sandpaper, then prime bare wood for ideal paint adhesion.
Applying Primer to Prepared Areas
After we’ve sanded the surfaces smooth, we’ll apply stain-blocking primer to seal porous areas and prevent bleed-through from water marks, smoke damage, or tannins in bare wood.
We must address all metal hardware, hinges, and fixtures with rust-inhibiting primer to guarantee proper adhesion and prevent oxidation from compromising the topcoat.
These specialized primers create a uniform base that maximizes paint performance and extends the lifespan of our finish work.
Stain-Blocking Primer Application
Once you’ve completed surface preparation, applying stain-blocking primer requires attention to environmental conditions and product handling. We’ll guarantee temperatures range between 5°C and 32°C with humidity below 85% before beginning application. For tannin stain identification on knots and sap streaks, we recommend shellac-based primers like BIN for superior sealing.
Oil-based options such as Zinsser Cover Stain effectively obstruct nicotine, smoke, and water stains.
Regarding spray equipment selection, we use airless sprayers with 0.015″ to 0.017″ tips at 1800-2200 PSI without thinning. We extend primer coverage beyond visible stains for complete sealing. One coat typically suffices, though porous substrates need two applications.
After the manufacturer’s recommended 2-4 hour dry time, we test for bleed-through on small sections before full topcoating.
Rust Prevention for Hardware
We apply rust-inhibiting primer to metal hardware through systematic surface preparation and product selection matching Gooding’s climate demands. Before choosing appropriate primers, we remove loose rust and contaminants by sanding surfaces to ST2 standard or blasting to Sa 2½ specification.
We select epoxy-based primers for iron and steel hardware, while zinc phosphate formulations provide lead-free protection for outdoor applications. Our applying paint application methods include brush application for penetrating rusted areas, spray techniques from 20-30 cm distance using 1.2-1.4 mm nozzles at 3.0-4.0 bar pressure, and airless systems with 0.33 mm nozzles at 140 bars. We maintain 90 µm wet layer thickness plus surface roughness for adequate coverage.
Hardware becomes dust-dry after 1.5 hours and recoatable within 2-6 hours depending on temperature conditions.
Protecting Your Property and Landscaping
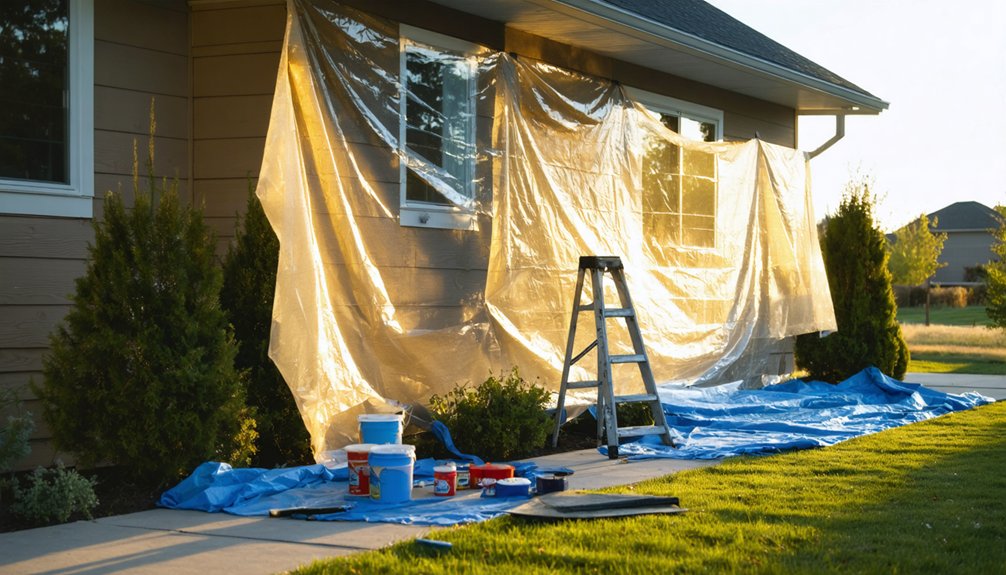
Protecting your property and landscaping requires systematic preparation before any exterior painting begins. We’ll lay heavy-duty plastic sheeting over driveways, patios, and gravel paths while positioning plywood sheets beneath ladder contact points to prevent lawn compression. Shielding ground surfaces extends to dampening bare soil, reducing dust adhesion during power washing operations.
Masking sensitive areas includes taping electrical outlets, meters, and relocating light fixtures to eliminate overspray contamination. We’ll cover plants and shrubs with tarps, trimming vegetation that contacts siding for proper access. Drop cloths positioned around trees and flower beds capture drips effectively. We’ll water soil deeply the day before to minimize airborne particulates settling on foliage. Potted plants and garden ornaments get relocated to designated safe zones, while temporary barriers block paint splatter from reaching grass areas.
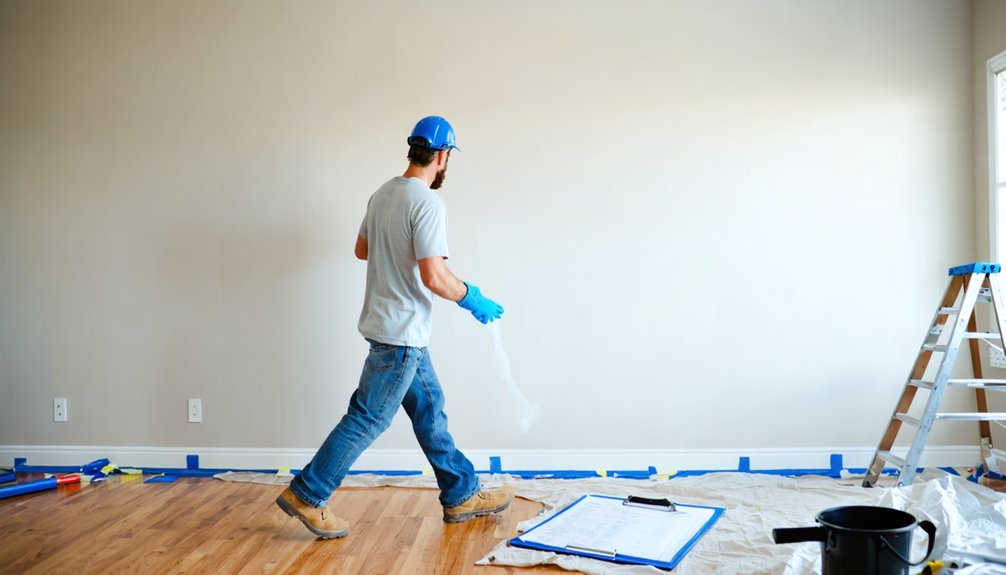
Interior Surface Preparation Techniques
Before applying any interior paint, proper surface preparation determines coating longevity and finish quality throughout your Gooding home. We’ll start by establishing proper lighting techniques—using work lights to reveal imperfections that natural light conceals.
Our surface preparation order follows a systematic approach: first, we’ll dust all surfaces with dry cloths, focusing on corners and ceilings. Next, we’ll clean walls using TSP or vinegar solutions for drywall, degreasers for kitchen areas. After thorough drying, we’ll fill cracks and holes with joint compound, then sand trim with 220-grit paper. We’ll apply appropriate primers—bonding primer for trim, drywall primer-sealer for repairs. Finally, we’ll sand the primer coat with 400-grit paper, vacuum dust, and verify readiness through adhesion testing before topcoat application.
Final Inspection Before Paint Application
A thorough final inspection identifies surface defects, structural issues, and environmental damage that compromise paint adhesion and longevity. We’ll conduct a systematic walk-through examining all surfaces for peeling, blistering, or chalking that signals coating failure.
Our paint history assessment includes testing for lead if your Gooding home was built before 1978, requiring EPA-compliant procedures. We’ll verify substrate moisture content in wood trim and siding, checking for rot or softness from water intrusion. Foundation inspection covers cracks, efflorescence, and crumbling mortar.
We’ll evaluate caulking integrity at material joints, weatherstripping condition, and flashing around windows and doors. Metal components require rust inspection, while drainage systems need clearing. This thorough assessment guarantees optimal surface preparation before application begins.
Frequently Asked Questions
How Long Should I Wait Between Primer and Paint Application?
We’ll wait 3-4 hours for water-based primers or 24 hours for oil-based before applying paint. Understanding paint drying time and paint coverage requirements guarantees we achieve ideal adhesion and professional results that’ll make your home transformation successful.
What Type of Paint Finish Works Best for Idaho’s Climate?
We recommend satin or semi-gloss durable paint finishes for Idaho’s climate. These weather resistant coatings flex through temperature extremes, resist UV damage, and repel moisture from snowmelt and irrigation—ensuring your exterior maintains its protective barrier and visual appeal year-round.
Should I Hire a Professional Painter or Do It Myself?
We recommend hiring professionals for superior paint quality considerations and proven preparation techniques. They’ll deliver lasting results that protect your investment, while you’ll avoid costly mistakes and enjoy warranty-backed workmanship that stands up to Idaho’s demanding climate conditions.
How Often Should I Repaint My Gooding Home’s Exterior?
Like a well-tended garden, we recommend repainting every 5-7 years in Gooding’s high-UV climate. However, proper paint preparation and suitable paint selection can extend this cycle to 8-10 years, ensuring your home stays protected.
What Is the Average Cost of Exterior Painting in Gooding?
We’ll find exterior painting budget requirements in Gooding typically range from $2,600 to $8,500, depending on your home’s size and stories. Our paint cost estimates factor in Idaho’s regional rates, which average slightly below national figures for similar projects.