We recommend preparing Wendell interiors by addressing temperature-related paint failures with stain-sealing primers and TSP surface preparation. You’ll achieve crisp lines using FrogTape’s polymer technology or production caulk on textured walls, then apply two complete coats using W-patterns while maintaining wet edges. We’ve found Benjamin Moore Aura and Sherwin-Williams Emerald Urethane handle Idaho’s extreme fluctuations best when you maintain 50-85°F during curing. The following sections break down each technique we’ve refined for our region’s unique challenges.
Key Takeaways
- Prepare walls by filling cracks, sanding smooth surfaces, and using stain-sealing primers on smoke or mildew stains.
- Apply base coat along tape edges or use production caulk on textured walls to prevent paint bleeding.
- Cut in three-inch perimeter bands with angled brushes, then roll using W patterns while maintaining wet edges.
- Paint ceilings first with two coats, allow drying, then complete walls top to bottom for drip prevention.
- Choose temperature-resistant paints like Benjamin Moore Aura and maintain 50-85°F during application and curing.
Preparing Your Walls for a Professional-Quality Finish
Before applying the first coat of paint, proper wall preparation determines whether the finished surface will exhibit professional quality or reveal underlying imperfections. We’ll start by identifying smoke and mildew stains, particularly in bathrooms where spores compromise adhesion. These areas require stain-sealing primers like PrepRite ProBlock before topcoat application.
Next, we’ll address bulging and peeling paint by removing loose material and sanding affected areas smooth. We’ll fill nail holes, cracks, and joints with appropriate patching compounds, allowing complete drying before sanding. For greasy surfaces, we’ll use degreasers or TSP to guarantee proper paint adherence.
After sanding glossy surfaces, we’ll wipe everything with damp cheesecloth and vacuum baseboards thoroughly. This systematic approach prevents dust adhesion and creates the uniform surface necessary for professional results.
Mastering Taping Techniques to Prevent Paint Bleed
With wall surfaces properly prepared and primed, we’ll now address the precision work that separates amateur from professional paint lines. We’ll master the base coat sealing method—applying painter’s tape over dried base color, then brushing that same base shade along tape edges. This barrier prevents our new color from bleeding underneath.
On textured walls, we’ll apply production caulk along tape edges before painting, bridging surface valleys for complete seals. For ideal results, we’ll paint from tape inward rather than across edges to avoid forcing liquid underneath. FrogTape’s polymer-enhanced green variant delivers exceptional performance on rough surfaces without caulking.
Testing our chosen method on scrap material first guarantees proper surface preparation and confirms we’re preventing paint leakage before tackling visible areas.
The Right Way to Apply Paint on Interior Surfaces
After securing crisp tape lines, we’ll execute the actual paint application using a systematic approach that verifies uniform coverage and professional results. We’ll start by cutting in a three-inch perimeter band along the ceiling with our angled sash brush, applying two coats for durability.
Professional paint application demands systematic execution—cutting in precise three-inch perimeter bands with an angled sash brush before applying two complete coats for lasting durability.
For optimizing brush strokes on trim and edges, we’ll use the narrow brush edge with controlled precision around switches and windowsills.
When rolling, we’ll work top to bottom, creating W or N patterns while filling gaps without lifting. This technique ascertains achieving uniform coverage across the entire surface. We’ll maintain wet edges by painting continuous strokes in the same direction, pushing our roller close to cut-in areas during the first coat.
Two complete coats guarantee professional-grade results.
Following the Proper Painting Sequence for Best Results
Once we’ve mastered the application techniques, we’ll implement the ceiling-first methodology to guarantee professional results throughout the entire project. We’ll complete two coats on ceilings using “W” patterns, allowing full drying before advancing to walls.
Next, we’ll cut in along ceiling lines and corners with angled brushes, then roll walls from top to bottom in manageable sections. This sequence prevents drips from contaminating finished surfaces below.
We’ll begin with shorter walls for ideal workflow efficiency, ensuring our paint color selection achieves consistent coverage. Finally, we’ll tackle door frames, window casings, and baseboards using smooth, grain-following strokes. This universal sequence—ceiling, walls, trim—eliminates backtracking while maintaining work quality throughout every phase, delivering the professional-grade finishes we expect.
Choosing the Right Paint and Application Conditions
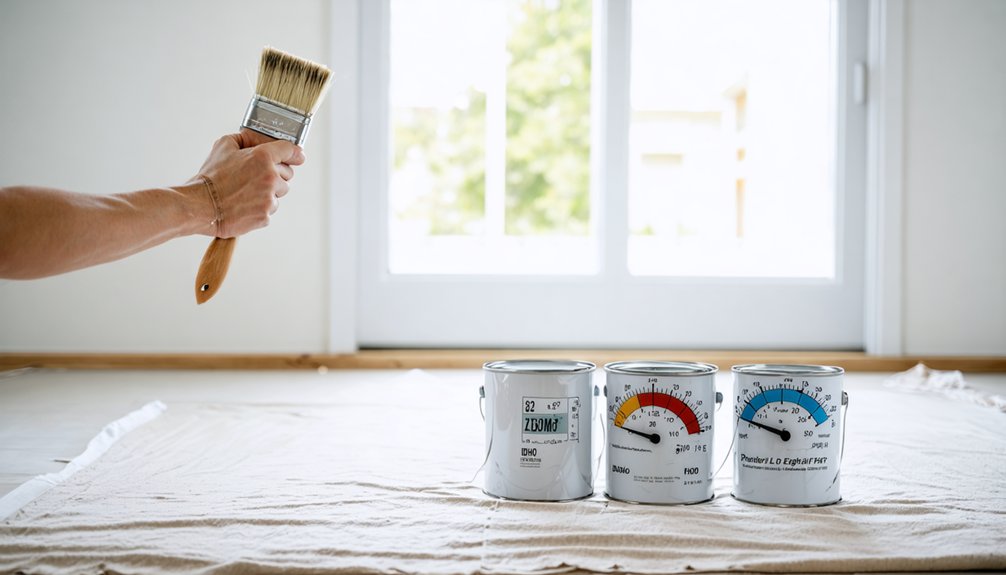
Because Idaho’s climate demands strategic paint selection, we’ll prioritize formulations engineered for extreme temperature fluctuations and moisture resistance specific to Wendell’s high-desert conditions. We recommend Benjamin Moore Aura for its self-priming properties and lifetime warranty, guaranteeing long-term performance against fade and crack formation.
Strategic paint selection engineered for Wendell’s extreme temperature swings and high-desert moisture conditions ensures lasting protection against fade and cracking.
For trim work, Sherwin-Williams Emerald Urethane delivers exceptional durability through spraying applications.
When selecting compatible paint finishes, we’ll match sheen levels to functional requirements: eggshell for living spaces balancing cleanability with aesthetic softness, semi-gloss for high-traffic areas requiring frequent maintenance. Temperature resistant paint formulas containing acrylic latex compounds provide ideal resilience against Wendell’s seasonal extremes.
Application timing matters—we’ll maintain interior temperatures between 50-85°F during curing. When catalyzing specialty coatings like Renner 851, confirm proper ventilation to prevent isocyanide exposure while achieving that thick, professional-grade coverage we’re targeting.
Frequently Asked Questions
How Do I Protect My Exterior Paint From Water Damage?
Like a raincoat shields you from storms, we’ll protect your exterior paint through proper exterior sealant application around vulnerable joints and weather resistant paint selection that creates a breathable moisture barrier, preventing water infiltration and extending your home’s finish longevity substantially.
Should I Use Matte or Glossy Finish for Dark-Colored Walls?
We’d recommend a satin finish for depth on dark walls, as it balances light reflection beautifully. Alternatively, an eggshell finish enhances appearance while minimizing imperfections. Both options provide our community with durable, sophisticated results perfect for your home.
Can I Paint When Temperatures Drop Below 50 Degrees Fahrenheit?
We’d absolutely discourage painting below 50°F—it’s practically a recipe for disaster! Temperature considerations critically affect paint curing time and adhesion. We recommend maintaining 60°F minimum to guarantee proper film formation and avoid bonding failures that’ll frustrate us all.
What Width Masking Tape Works Best for Door Jambs and Windows?
We recommend 1 to 1.5-inch painter’s tape width for door jambs and windows. These sizes offer ideal masking techniques, providing precise edge coverage and easy maneuverability around corners. We’ve found 1.5-inch FrogTape green works exceptionally well for jambs.
Why Should Trim Be Painted Before Ceilings and Walls?
We paint trim first because primer application and subsequent coats create a higher-sheen foundation. When we apply wall paint afterward, it provides complete paint coverage over any trim overspray, eliminating visible sheen differentials and reducing touch-up requirements.