We recommend starting with thorough surface prep using TSP for stubborn stains, followed by spackling and sanding any imperfections. You’ll need quality tools—a 2.5-inch synthetic angle sash brush and 9-inch microfiber roller work best for latex applications. Twin Falls’ extreme temperature swings (20°F to 89°F) and semi-arid conditions require maintaining 50-85°F during application while controlling humidity with dehumidifiers. Apply two-coat systems with proper dry time, and choose semi-gloss finishes with antimicrobial additives for bathrooms. Below, we’ve outlined the complete process for achieving professional results.
Key Takeaways
- Clean and sand surfaces thoroughly, then apply primer to ensure proper paint adhesion in Twin Falls’ semi-arid climate.
- Use dehumidifiers during application and maintain temperatures between 50-85°F to accommodate extreme temperature fluctuations.
- Select semi-gloss or satin finishes with antimicrobial additives for bathrooms to resist mold in areas with humidity spikes.
- Apply two-coat systems with adequate drying time, using contractor-grade Benjamin Moore or Behr formulations for local conditions.
- Employ synthetic bristle brushes for latex paint and microfiber rollers to achieve even coverage on walls and trim.
Essential Surface Preparation Before You Start Painting
Proper surface preparation determines paint adhesion, finish quality, and coating longevity in any interior project. We’ll start by thoroughly cleaning all surfaces with warm water and mild detergent, working from top to bottom. For kitchen walls, we’ll apply degreaser to eliminate grease buildup. Stubborn bathroom stains require trisodium phosphate (TSP) treatment.
Next, we’ll scrape loose paint and fill imperfections using spackling compound or joint compound. Removing tricky stains demands stain-blocking primer sealer on water, smoke, or grease marks. We’ll sand repaired areas with 220-grit sandpaper, following wood grain on trim and cabinets.
For ensuring proper paint adhesion, we’ll lightly sand glossy surfaces to dull the finish. After wiping down sanding dust, we’ll apply primer to bare wood, patches, and previously oil-painted surfaces before topcoating.
Choosing the Right Tools and Equipment for Your Project
With your surfaces properly prepared, selecting the correct tools becomes the next determining factor in achieving professional-grade results. We’ll need a 2.5-inch angle sash brush with synthetic bristles for latex applications on trim and corners. For walls, a 9-inch microfiber roller with heavy-duty cage secures even pressure distribution. We recommend HANDy Paint Pails with magnetic brush holders for efficient workflow.
Proper paint storage between coats safeguards your investment—seal containers tightly and maintain consistent temperatures. Brushes maintenance extends tool longevity: clean synthetic bristles thoroughly with warm water, reshape, and hang to dry. Canvas drop cloths outperform plastic sheeting for floor protection, while blue painter’s tape assures crisp edge lines. An adjustable extension pole eliminates ladder repositioning on standard eight-foot ceilings, improving both safety and efficiency.
Proven Techniques for Professional-Looking Results
We’ve covered tool selection—now let’s execute the work with precision methods that separate amateur results from professional finishes. The foundation rests on three critical practices: applying a proper two-coat system with adequate dry time between applications, mastering the cut-in technique to create sharp edge bands without tape reliance, and controlling environmental factors like temperature and humidity that directly affect paint flow and cure rates.
These techniques work together systematically to eliminate common defects like lap marks, uneven sheen, and premature adhesion failure.
Master the Two-Coat System
Most interior paint failures trace back to a single shortcoming: insufficient film build. We’ve measured this repeatedly—one coat delivers only 1–1.5 mils DFT, while two coats reach the essential 3–4 mils that deliver superior adhesion, washability, and UV resistance.
The first coat absorbs into substrate, leaving roller marks and patches. The second coat levels imperfections while reinforcing the barrier. For bare drywall, we apply primer plus two finish coats to prevent flashing. Previously painted walls need two finish coats for uniform sheen.
Our roller application tips emphasize wet edge continuity—maintaining overlap before sections flash. We wait for complete dry-through between coats. This dual-layer system extends lifespan from 2–3 years to 6–10 years, meeting PDCA and MPI benchmarks every contractor respects.
Cut-In Like a Pro
The timing matters: cut in first, roll immediately after to prevent lap marks.
Use 4″ rollers near trim before switching to 9″ coverage.
Control Drying and Environment
After you’ve completed your cut-in work and rolling, environmental control becomes the critical factor that separates amateur results from professional finishes. We maintain ideal humidity control by positioning dehumidifiers before painting begins, targeting that sweet spot of 40-50% relative humidity. Monitor conditions with a digital hygrometer—every 10% above 50% extends drying time by 20-30%.
Consistent air circulation accelerates evaporation without introducing heat damage. We position standing fans at indirect angles, several feet from wet surfaces, ensuring blade cleanliness prevents debris contamination. Open windows when outdoor humidity permits moisture escape.
For water-based paints, thin applications with proper airflow achieve touch-dry status in 30-60 minutes. Temperature matters—keep spaces between 50-85°F. Higher temps break down acrylic polymers; lower temps stall curing unnecessarily.
Special Considerations for Painting Bathrooms and High-Moisture Areas
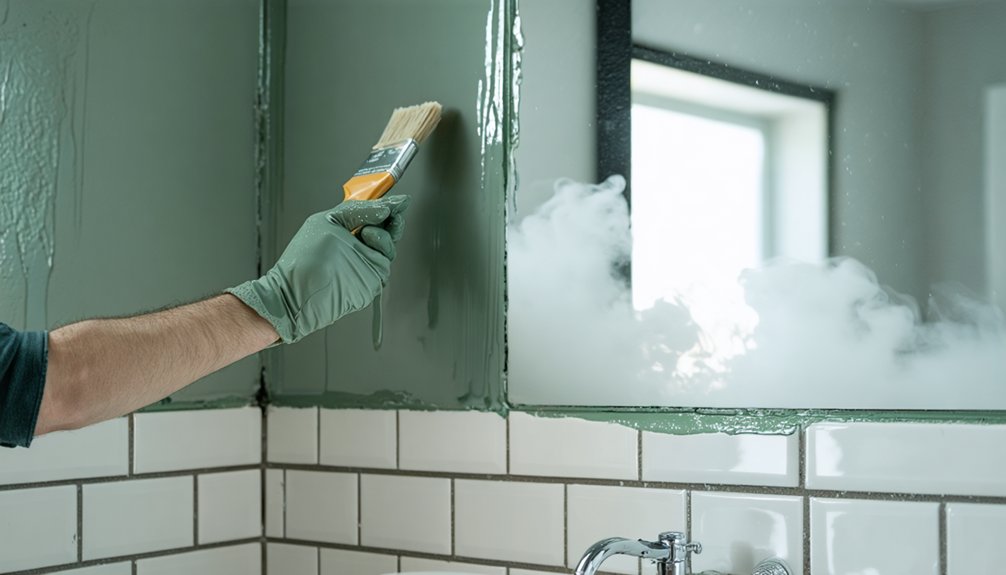
Bathrooms present unique challenges that demand specialized paint selection and application protocols beyond standard interior work. When choosing mold resistant finishes, we prioritize semi-gloss or satin formulations containing antimicrobial additives that actively inhibit fungal growth. Acrylic paints deliver superior moisture resistance while maintaining low VOC levels. We avoid matte finishes entirely—they can’t provide adequate protection in high-humidity zones.
Surface preparation requires treating existing mold with bleach solution (1/3 cup per gallon) before applying mold-resistant primer. This creates essential moisture barriers. For maintaining moisture control, we install exhaust fans alongside our paint systems and apply waterproofing sealants in direct water-contact areas.
Two-coat applications guarantee complete coverage, with proper drying intervals between passes. We address leaks immediately—no paint system compensates for ongoing water intrusion.
Selecting Quality Paint Materials That Last
Quality paint materials determine project longevity more than any other factor in interior applications. When selecting premium paints, we’ll find advanced formulations like Behr Marquee offering one-coat coverage across 700+ colors with exceptional stain repellency and scuff resistance.
Premium paint formulations with one-coat coverage and advanced stain resistance directly impact how long your interior finishes maintain their quality and appearance.
For high-traffic zones, we’re specifying satin or semi-gloss sheens that deliver superior cleanability and burnish resistance. Coverage rates matter—premium products span 250-400 square feet per gallon while providing mildew protection and fade resistance.
Durable paint finishes incorporate stain-blocking primers that guarantee uniform hide without multiple coats. Local suppliers like Sherwin-Williams and Mallory Paint stock contractor-grade Benjamin Moore and Behr formulations designed for southern Idaho’s climate conditions.
Professional-quality materials withstand wear, weather cycles, and heavy use, delivering results that last decades rather than years.
Protecting Your Home During the Painting Process
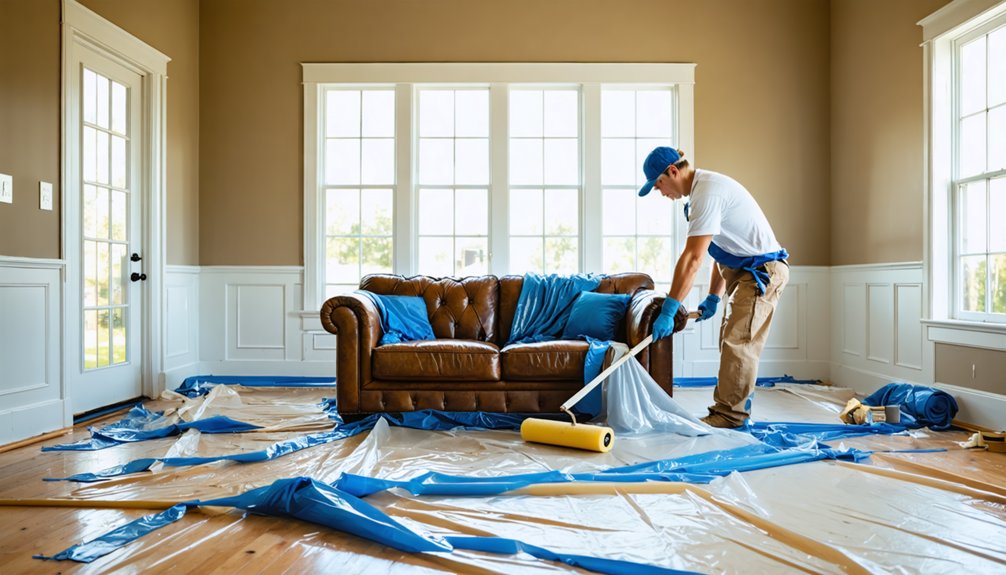
Professional-grade materials mean nothing without systematic protection protocols that safeguard your Twin Falls property from paint overspray, chemical exposure, and structural damage. We’ll secure canvas drop cloths across work zones—they’re superior to plastic sheeting that creates slip hazards.
Apply painter’s tape precisely along trim lines and windowsills for clean edges. Before coating near electrical components, we’ll remove switch plates and de-energize circuits at the breaker panel. Pre-1978 homes require lead paint testing to mitigate lead paint risks before surface prep begins.
We’ll establish ventilation corridors using box fans positioned strategically in window openings. Select low-VOC formulations that minimize respiratory irritants. Once we’ve completed daily work cycles, dispose used supplies properly following municipal hazardous waste guidelines. These measured protocols protect both your investment and our collective well-being.
Managing Twin Falls Climate Challenges for Interior Painting
Because Twin Falls experiences extreme temperature swings—from 89°F July highs to 20°F January lows—we’ll adjust application protocols to match seasonal extremes that directly impact paint viscosity and cure rates. During summer peaks exceeding 85°F, we’ll extend open times and apply thinner coats to prevent flash drying that causes lap marks.
Battling low humidity in our semi-arid climate requires humidifier deployment during application to maintain 40-60% relative humidity for proper film formation. Winter presents dual challenges: we’ll maintain substrate temperatures above 50°F while managing snow melt impact through strategic dehumidifier placement near entry points where moisture infiltration threatens adhesion.
Monitor interior conditions continuously—our 18 inches annual snowfall creates localized humidity spikes that compromise coating performance if unaddressed.
Achieving Flawless Trim Work and Clean Edge Lines
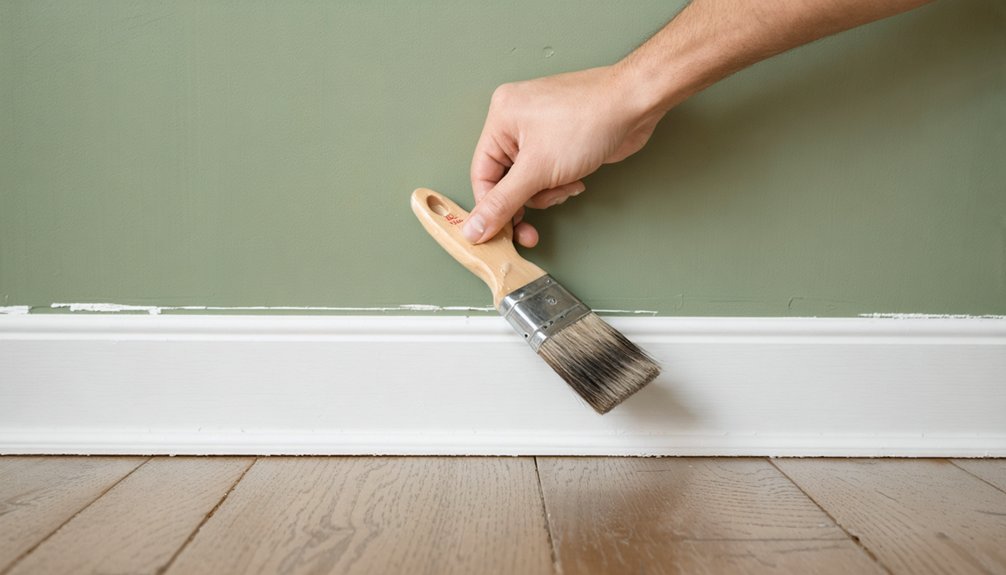
Perfect environmental conditions mean nothing if trim work reveals amateur execution through wavy lines, visible brush marks, or paint buildup at joints. We’ve refined our finishing and edging techniques to deliver professional results that separate competent craftspeople from weekend hobbyists.
Our systematic approach guarantees flawless trim:
- Spackle nail holes and apply Bondo at joints before any paint touches the surface
- Sand lightly between coats using 220-grit paper for ideal adhesion
- Load brushes halfway, tap excess, and maintain consistent pressure throughout strokes
- Cut in edges starting inches away, feathering paint toward trim boundaries
For complex profiles, we rely on 2.5-inch angled sash brushes rather than airless sprayer application. Multiple thin coats over quality primer prevent the buildup that compromises crisp lines and creates that sought-after glass-smooth finish.
Frequently Asked Questions
How Long Should I Wait Between Painting Interior Rooms in My Home?
We recommend waiting 4-8 hours between rooms with proper paint preparation and adequate ventilation. Monitor drying time between coats—latex needs 2-4 hours, oil-based requires 24 hours. You’ll achieve professional results by respecting these critical cure windows.
Can I Paint Over Wallpaper or Should I Remove It First?
We strongly recommend proper wallpaper removal techniques before painting. While testing paint adhesion on wallpaper might show temporary success, removing it guarantees superior bonding, eliminates future peeling issues, and delivers the professional-grade finish you deserve.
What’s the Best Time of Year to Paint Interiors in Twin Falls?
You’ll hit the sweet spot in spring or fall when ideal temperature ranges (50-85°F) let us avoid winter weather extremes. We maintain controlled humidity, guarantee proper ventilation, and achieve flawless curing—professional results every time.
How Do I Calculate How Much Paint I Need for My Project?
We’ll measure your wall surfaces in square feet, subtract openings, then divide by 300-400 sq ft per gallon for accurate paint coverage estimates. Consider your paint color combinations—darker shifts need extra coats, affecting total quantities needed.
Should I Paint Walls or Ceilings First in a Room?
Picture paint drips cascading down your freshly finished walls—that’s why we always paint ceilings first. Proper wall preparation requirements and paint application techniques follow a gravity-driven sequence: ceiling, walls, then trim for professional results.