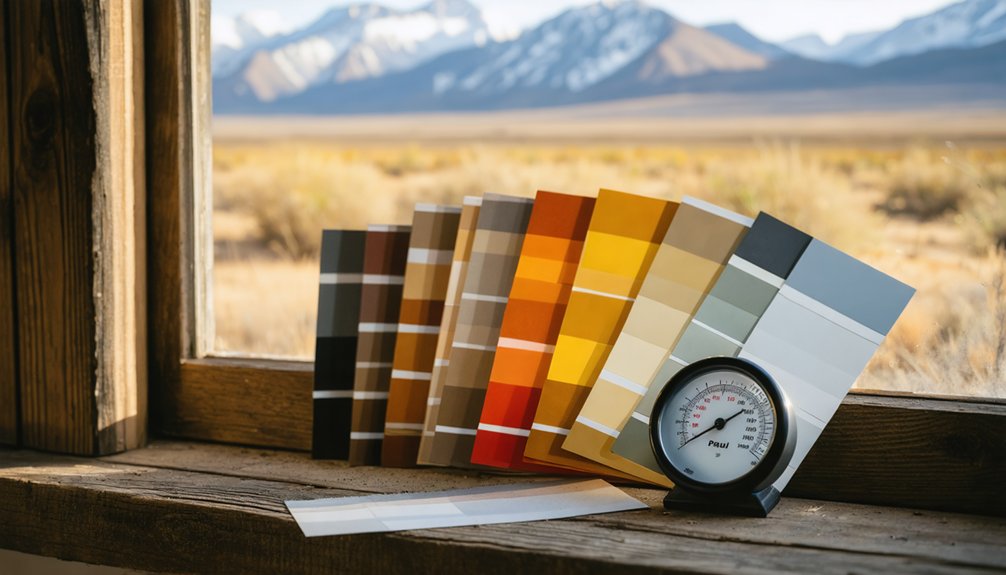
We’ve found that successful interior painting in Paul requires maintaining 50-85°F temperatures during application and curing, especially given our winters that drop to 16.9°F. You’ll need to thoroughly clean and sand surfaces, apply primer to bare areas, and use 100% acrylic latex formulations designed for extreme temperature cycling. We recommend the “W” rolling technique with two thin coats, allowing proper drying between applications. Our detailed guide below covers advanced surface preparation methods, specialized paint selection criteria, and professional techniques that guarantee your project withstands Paul’s demanding climate conditions.
Key Takeaways
- Clean and sand surfaces thoroughly, fill imperfections with spackle, and apply primer to bare wood or new drywall before painting.
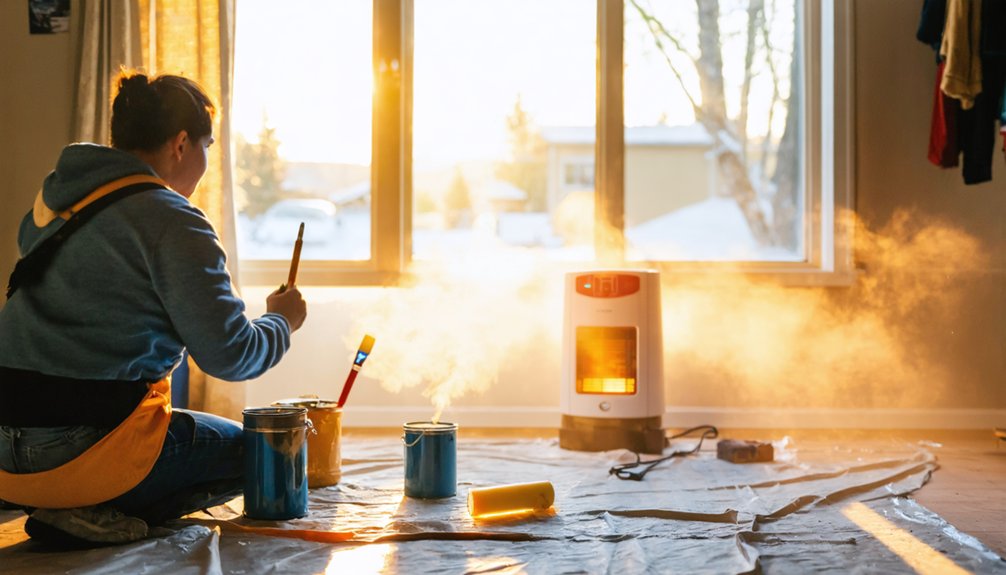
- Maintain interior temperatures between 50-85°F during application and curing, using space heaters if necessary for proper paint drying.
- Use 100% acrylic latex paints with high solids content to withstand Paul’s extreme temperature cycling and dry climate conditions.
- Apply painter’s tape for clean edges, cut in with angled brushes first, then use rollers in “W” patterns with two thin coats.
- Select eggshell or satin finishes for fade resistance in Paul’s 206 sunny days and ensure paints withstand freeze-thaw cycles.
Essential Surface Preparation Techniques for Long-Lasting Results
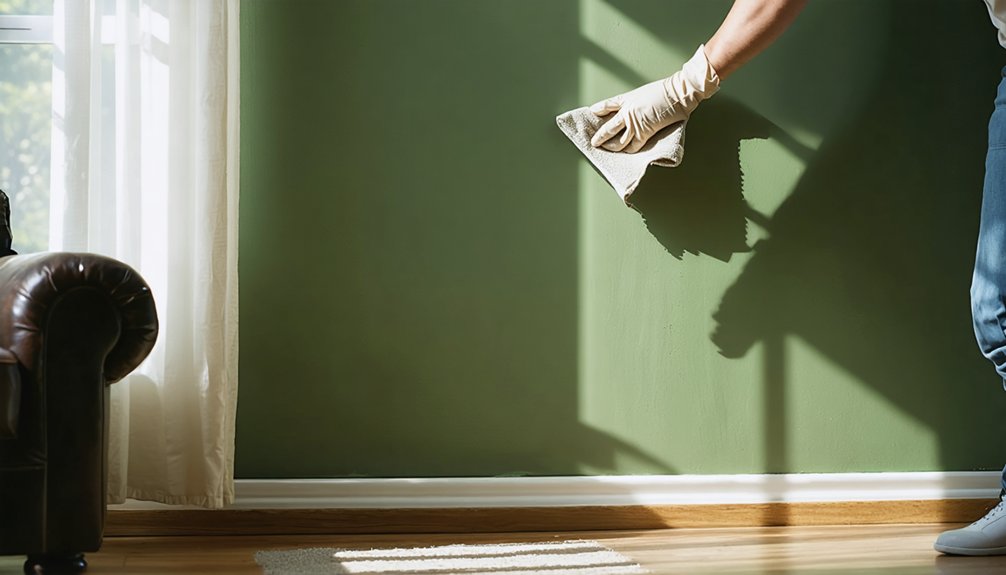
Before applying the first coat of paint, we must address the foundation that determines whether your interior painting project will last two years or twenty. We’ll start by thoroughly cleaning all surfaces with warm water and mild detergent, removing contaminants that compromise adhesion.
Kitchen walls require degreaser treatment before proceeding. Next, we’ll scrape away any peeling paint and fill imperfections with spackle, allowing complete drying. Sanding comes next—we’ll use fine-grit sandpaper on rough spots and medium-grit on glossy finishes to create proper tooth.
Effective dust removal follows every sanding operation using damp cloths. Finally, we’ll apply primer to bare wood, new drywall, or dramatic color changes. This systematic approach guarantees uniform paint coverage and professional-grade results that fellow homeowners recognize.
Mastering Caulking and Taping for Professional-Looking Edges
We’ll show you how caulking gaps before paint application creates seamless shifts between surfaces, eliminating visible seams that compromise your finish quality. The selection of proper painter’s tape—whether low-tack for delicate surfaces or high-tack for floor protection—directly impacts your edge sharpness and prevents paint bleed-through.
Timing your tape removal correctly, either while the topcoat remains wet or after complete drying depending on your application, determines whether you’ll achieve crisp lines or experience paint peeling.
Caulk Before Paint Application
Proper caulking transforms amateur paint jobs into professional-grade finishes by creating the seamless shifts that define quality craftsmanship. We’ll focus on caulk selection and caulking placement to achieve contractor-level results.
For baseboards, trim, and crown molding, we recommend acrylic latex caulk—it’s paintable and allows water cleanup. In moisture-prone areas like bathrooms, we’ll use paintable silicone for superior water resistance. Premium hybrid formulations with flexibility additives handle expansion joints where dissimilar materials meet.
Our caulking placement strategy targets wall-ceiling junctions, trim seams, window casings, and door frames. We’ll fill nail holes and surface cracks systematically. After thorough surface cleaning, we’ll apply caulk, smooth immediately with a damp finger, and remove excess with warm soapy water. Complete drying before priming guarantees optimal paint adherence and prevents cracking.
Choose Quality Painter’s Tape
After achieving seamless caulk lines, we’ll protect those clean edges with strategically selected painter’s tape that prevents paint migration and delivers razor-sharp definition.
For Paul’s interior projects, we recommend FrogTape’s PaintBlock technology—its polymer-based system reacts with latex paint to create an impenetrable bleed barrier, essential for geometric accent walls and intricate trim work.
We’ll match tape adhesion levels to surface conditions: low-adhesion formulations for recently painted drywall (1-7 days old), medium-grade options for fully cured surfaces. When working near wallpaper or delicate finishes, we rely on vinyl safe tape formulations that release cleanly without damage.
For extended projects, professional-grade tapes maintain holding power up to 21 days. We always specify low odor tape options for occupied homes, ensuring comfort throughout application.
Perfect Tape Removal Timing
While most homeowners focus on application technique, tape removal timing determines whether you’ll achieve gallery-worthy edges or spend hours scraping adhesive residue from woodwork.
We’ve found ideal tape removal occurs through two proven methods. For wet paint removal, pull tape seconds to minutes after your final coat—the fresh paint hasn’t formed a bridging film yet, preventing those frustrating “shark’s teeth” tears. Alternatively, remove tape when paint feels dry to touch, typically within one hour.
Here’s what separates professionals from amateurs: we peel at a 45-degree angle, rolling tape over itself slowly. If paint lifts with the tape, we’ll slice the seam with a razor blade. Never exceed your tape’s release time—usually 24 hours for standard painter’s tape—or you’ll face splintering and stubborn residue on Paul’s cold winter mornings.
Proper Paint Application Methods for Smooth, Even Coverage
Achieving a flawless paint finish depends on systematic application techniques that layer product consistently across every surface. We’ll share the methods that separate professional-quality work from amateur results.
Professional-quality paint finishes require methodical layering techniques and precise application sequences that ensure consistent coverage across all surfaces.
Essential Application Sequence:
- Cut in edges first using angled sash brushes dipped halfway into paint, creating 2-3 inch borders along trim and corners before rolling
- Apply paint using the “W” technique with your roller, distributing material in zigzag patterns without lifting to prevent lap marks
- Maintain wet edges throughout each section, working top-to-bottom so drips fall onto unpainted areas
- Apply two thin coats rather than one thick layer, with light sanding between applications
Proper roller nap selection directly impacts paint application quality—shorter naps (¼” to ⅜”) produce smoother finishes on level surfaces, while longer naps accommodate textured walls effectively.
Selecting the Right Paint for Paul’s Climate Conditions
We’ll guide you through paint selection criteria that align with Paul’s temperature extremes and low-humidity conditions. Understanding minimum application temperatures—typically 50°F for standard latex and 35°F for low-temp formulas—prevents adhesion failures during spring and fall projects when indoor temps fluctuate.
We recommend premium acrylic-latex paints with flexible resins that accommodate the region’s significant temperature swings between 18°F winter lows and 86°F summer highs.
Minimum Temperature Application Guidelines
Temperature parameters directly determine paint adhesion quality and long-term finish durability. We’ll guide you through minimum temperature compliance to confirm professional results in your Paul home.
Standard latex paints require 50°F minimum application temperatures, while oil-based formulations tolerate 40°F thresholds. However, specialty low temperature paint application products now cure effectively at 35°F, expanding our winter project capabilities.
Critical Temperature Guidelines:
- Maintain interior temperatures between 50-85°F throughout application and curing phases
- Deploy space heaters in colder rooms to achieve ideal drying conditions
- Monitor for drafts from windows and doors that compromise room temperatures
- Sustain consistent thermostat settings at comfortable levels during the entire process
Suboptimal conditions cause surface imperfections, premature peeling, and adhesion failure. We recommend verifying ambient temperatures before beginning any interior painting project.
Premium Paints for Durability
Because Paul’s climate fluctuates between 18°F winter lows and 86°F summer highs, we specify premium acrylic latex formulations engineered for extreme temperature cycling. These high-solids coatings deliver superior adhesion and flexibility essential for our zone 6a conditions.
For ideal paint selection, we prioritize products containing 100% acrylic binders rather than vinyl-acrylic blends. This chemistry withstands our temperature swings without cracking or peeling. The dry climate averaging just 10 inches annual precipitation reduces moisture concerns, allowing us to focus on fade resistance under 206 sunny days yearly.
We recommend minimal sheen options—eggshell or satin finishes—for interior walls. These sheens hide imperfections while maintaining washability. Specify paints rated for freeze-thaw durability, ensuring coating integrity survives our coldest months when temperatures drop to 16.9°F.
Low-Temperature Formula Options
When January temperatures plunge to 18°F in Paul, standard latex formulations fail to form proper film coalescence, creating brittle coatings prone to early failure. We recommend specialized formulations engineered with cold weather paint additives that maintain low temperature paint properties down to 35°F application thresholds.
Critical specification requirements for Paul’s climate:
- Polymer flexibility rating – Select acrylic-hybrid systems maintaining elasticity at 10°F to prevent micro-cracking during freeze-thaw cycling
- Anti-freeze glycol additives – Guarantee formulations containing propylene glycol prevent ice crystal formation during 18°F overnight lows
- High-solids content – Specify 40%+ solids by volume reducing shrinkage across Paul’s 40°F daily temperature swings
- Zero-VOC compliance – Match low-emission standards to Paul’s 206 annual sunny days and exceptionally dry 10-inch precipitation environment
We’ll achieve professional-grade adhesion when matching paint chemistry to local conditions.
Temperature Considerations for Interior Painting Projects
Since paint chemistry relies on specific molecular interactions to achieve proper adhesion and curing, maintaining appropriate ambient temperatures directly impacts project outcomes. We recommend keeping your interior spaces at 60°F or higher during application and drying periods. The ideal temperature ranges span 50 to 80°F for most formulations, though oil-based products tolerate broader conditions (40-90°F) compared to latex paints (50-85°F).
Understanding cold temperature effects helps us prevent costly failures. When ambient conditions drop below 50°F, paint molecules lose mobility, hindering proper bonding and film formation. We’ve observed that exterior-facing walls often measure cooler than room temperature, requiring supplemental heating.
Additionally, overnight temperature drops below 50°F compromise cure completion, resulting in soft films prone to damage. Maintain consistent heating throughout your project timeline.
Achieving Clean Lines and Consistent Finishes
We’ll cover three essential techniques that separate amateur paint jobs from professional-grade finishes in Paul’s interior spaces. Proper surface preparation combined with strategic tape application creates the foundation for sharp shifts between walls, trim, and ceilings.
Mastering back-sealing methods, controlled cutting-in procedures, and finish-rolling techniques guarantees uniform texture and eliminates common defects like bleed-through or inconsistent sheen patterns.
Proper Taping and Caulking
Professional-grade masking separates amateur paint jobs from flawless finishes, and selecting the right tape for each application determines whether you’ll achieve crisp lines or spend hours scraping bleed-through. We’ve refined effective tape application techniques that deliver consistently sharp edges:
- Vacuum all surfaces before masking to eliminate dust that compromises adhesion and creates gaps beneath tape lines
- Pull tape taut during application, stretching it slightly before pressing down with your fingers for superior seal strength
- Use green FrogTape on trim and windows where paint block technology prevents bleed-through on critical edges
- Apply one-inch tape for cost efficiency while maintaining professional precision along baseboards and casings
Proper tape storage considerations matter—keep rolls sealed and temperature-stable between applications. Remove tape immediately post-application to avoid adhesion problems and achieve those razor-sharp boundaries we all value.
Strategic Cutting-In Techniques
Though tape creates boundaries, the brush itself determines whether those edges remain sharp through multiple coats—making cutting-in technique the most critical skill for interior painters to master.
Our brush selection strategies begin with angled sash brushes like the Purdy Clearcut for crisp lines, or the Premier Montauk for professional-grade work. We’ve found larger brushes maintain straighter edges as bristles hold together better.
Proper brush loading techniques involve dipping only one-third into paint, then patting—never dragging—against the can’s interior to saturate hidden bristles evenly. We hold our brush like a pen, gliding the edge at 45 degrees while starting quarter-inch from boundaries. Working in six-inch sections, we wiggle tips to meet edges, then feather outward with a dry brush. Always cut in before rolling, maintaining that active wet edge for seamless blending.
Back Rolling for Smoothness
After spraying interior walls, we immediately back roll the wet paint to force it deep into the substrate’s pores—a critical step that transforms superficial coverage into lasting adhesion.
Our back rolling process follows these essential steps:
- Select appropriate roller nap: 3/4-inch for textured surfaces, 3/8-inch to 1/2-inch for smooth walls
- Work wet paint into surface voids while maintaining consistent pressure
- Address drips and sags immediately before paint begins setting
- Avoid excessive pressure on finish coats to prevent stippling or rope patterns
Back rolling is critical for porous surfaces like drywall, where airless sprayers deposit only a thin film layer. We’ve witnessed countless paint failures from skipped back rolling—chipping, peeling, and premature breakdown. However, we never back roll non-porous surfaces like metal doors, where the technique destroys glossy finishes.
Strategic Use of Bold Colors to Transform Your Space
Bold color selection represents a technical change in interior specification, moving beyond surface-level aesthetics into strategic spatial transformation. We’re implementing adaptable color schemes like Benjamin Moore Silhouette AF-655, which combines espresso and charcoal for versatile application across Paul’s residential projects. In mood enhancing applications, we specify Glidden Warm Mahogany for bedrooms and kitchen cabinetry, creating intimate atmospheres suited to our regional climate.
Deep earth tones—olive, terracotta, warm browns—deliver cozy elegance while combating micro-trend fatigue. We’re pairing charcoal bases with organic accents, grounding spaces with steadiness. For dining rooms, Farrow & Ball’s deep ochre works technically with aged brass and local wood species. Graham & Brown Divine Damson transforms transitional zones like hallways without overwhelming modest square footage. These specifications shift interiors from cool grays toward enveloping warmth with permanent appeal.
Maintaining Your Custom Paint Finishes Over Time
Custom paint finishes demand systematic maintenance protocols to preserve their specified performance characteristics. We’ll implement these proven techniques to protect your investment while maintaining soap scum removal and countering moisture absorption in Paul’s climate conditions.
Core Maintenance Procedures:
- Monthly dust removal – Deploy soft cloths on all wall surfaces, targeting corners and baseboards where particulate accumulation occurs
- Biannual deep cleaning – Execute full washes in high-traffic zones using warm water with mild dish soap, followed by thorough rinsing
- Spot treatment protocols – Address scuffs immediately with damp microfiber cloths; apply baking soda paste for persistent marks
- Humidity management – Operate exhaust fans during moisture-generating activities and seal tile edges to prevent water seepage
We’ll avoid abrasive tools that compromise finish integrity, ensuring your custom work maintains its professional appearance.
Touch-Up Techniques for Flawless Wall Surfaces
When surface imperfections compromise your wall’s appearance, we’ll execute systematic touch-up protocols that restore seamless finish integrity. We begin by evaluating damage severity—scuffs, nail holes, and paint chips require targeted intervention.
Surface imperfections demand systematic evaluation and targeted intervention to restore your walls’ seamless finish integrity through professional-grade touch-up protocols.
After cleaning and filling imperfections with lightweight spackle, we’ll sand smooth using fine-grit sandpaper.
For touch up application, we match your exact color and sheen at professional retailers like Sherwin-Williams. We’ll water down paint 5% to prevent sheen buildup on existing layers. Using high-quality brushes or rollers matching your original tools, we apply thin coats from center outward.
Paint blending techniques are critical—we extend strokes beyond repair zones, creating imperceptible transformations. Multiple thin layers with complete drying intervals between applications guarantee professional-grade results.
Together, we’ll maintain flawless wall surfaces that preserve your home’s aesthetic standards.
When to Invest in Professional Painting Services
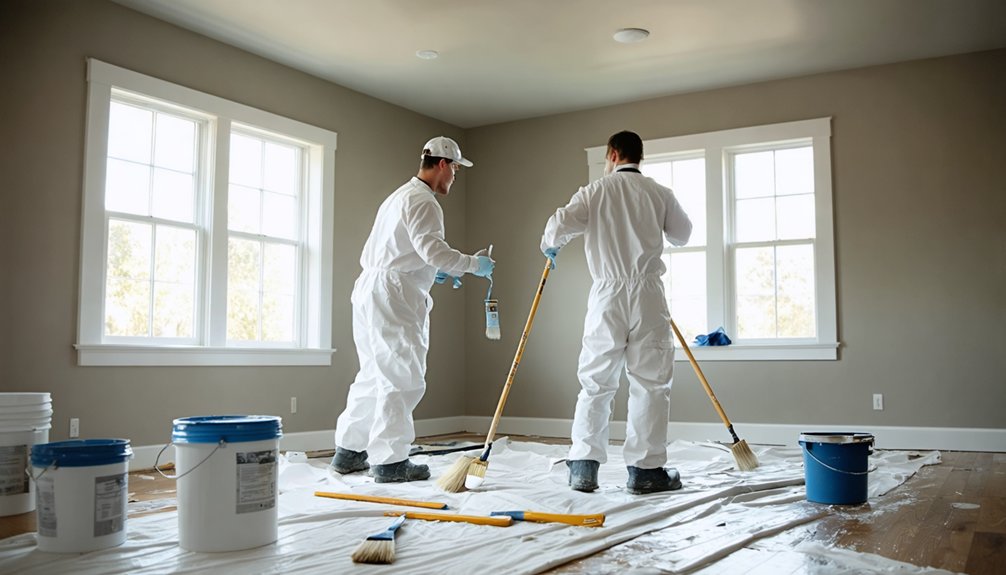
While homeowners can execute basic touch-up protocols, certain painting scenarios demand professional intervention to verify structural integrity and finish longevity.
When conducting a cost benefit analysis of DIY versus professional services, we recommend evaluating these critical factors:
- Surface complexity: Multi-story interiors, vaulted ceilings, and intricate millwork exceed standard homeowner capabilities
- Substrate complications: Water damage, mold remediation, or plaster repairs require specialized treatment protocols
- Timeline constraints: Professional crews complete whole-home projects in days versus weeks of fragmented DIY effort
- Material optimization: Access to contractor-grade products with superior coverage rates and extended warranties
We’ve found that investing in licensed services eliminates liability exposure while delivering durable finishes backed by insurance protection.
For Paul homeowners seeking lasting results, professional execution validates proper surface preparation and application techniques.
Frequently Asked Questions
How Long Should I Wait Between Coats When Painting Interior Walls?
We recommend waiting 4 hours between coats for latex paint and 24 hours for oil-based products. Following proper paint application techniques and drying time requirements guarantees seamless adhesion, prevents film defects, and delivers professional-grade results we all expect.
What Sheen Level Works Best for High-Traffic Areas in My Home?
We recommend satin or semi-gloss sheens for high-traffic zones. For example, hallways endure constant contact, requiring 2,000+ scrub-cycle durability. Avoid matte finishes and eggshell sheen in these areas—they’ll show wear quickly despite their beautiful, saturated color appearance.
Can I Paint Over Wallpaper or Should I Remove It First?
We recommend removal first for ideal results. Painting over wallpaper risks adhesive failure and visible seams. If you must paint over it, we’ll need texture removal at seams and oil-based primer application to prevent delamination issues.
How Do I Calculate the Right Amount of Paint for My Project?
We’ll measure your wall area, subtract openings, then use paint coverage calculations—typically 350-400 sq ft per gallon. Remember, paint sheen recommendations affect coverage rates, so we’ll factor that into determining your total gallons needed.
Should I Paint Trim or Walls First for Best Results?
We recommend tackling the trim first—it’s the professional’s dance. After primer application dries 24 hours, your brush technique protects edges. Then we’ll roll walls over any overspray, creating that seamless finish we all appreciate in quality work.