Yes, we can paint kitchen cabinets without sanding by using a chemical deglosser and high-adhesion primer system. We’ll start by removing all hardware and deep cleaning surfaces with a degreaser to eliminate grease and contaminants. Next, we’ll apply a liquid deglosser that chemically breaks down the glossy finish, creating a receptive surface for primer adhesion. After the deglosser dries, we’ll apply 2-3 coats of shellac-based or adhesion primer, followed by quality cabinet paint in your desired sheen. This exhaustive guide explores each step in detail.
Key Takeaways
- Yes, you can paint cabinets without sanding by using liquid deglosser to chemically remove gloss and prepare surfaces.
- Apply high-adhesion primers like BIN or Zinsser Smart Prime after deglosing to ensure proper paint adhesion.
- Thoroughly clean cabinets with degreaser before deglosing to remove grease, dirt, and contaminants that prevent adhesion.
- Use water-based alkyd hybrid paints or milk paint, which may eliminate primer requirements while providing durable finishes.
- Follow manufacturer curing times and apply 2-3 topcoats for long-lasting results on cabinet surfaces.
Understanding the No-Sanding Method for Cabinet Painting
When painting kitchen cabinets without sanding, we’re fundamentally altering the surface preparation process by using chemical deglossers and specialized primers to achieve paint adhesion. We apply deglosser after thorough cleaning to eliminate gloss and contaminants that would compromise bonding. Products like Klean-Strip Liquid Sander Deglosser are water-based, biodegradable, and professionally recommended for this critical step.
Our surface preparation continues with high-adhesion primers such as BIN or Zinsser Smart Prime, which are essential when we skip traditional sanding. We’ll apply two thin primer coats to lower cabinets for ideal paint coverage. Tinting the primer helps when we’re covering dark colors with lighter topcoats.
This method delivers professional results when we follow manufacturer curing timeframes and apply 2-3 topcoats for durability.
Essential Preparation and Cleaning Steps
Before we apply any primer or paint, we’ll need to remove all cabinet hardware and doors to create unobstructed access to every surface. We recommend labeling each hinge, knob, and door with masking tape to guarantee proper reassembly later.
Once hardware is secured in labeled bags, we’ll deep clean all cabinet surfaces with a heavy-duty degreaser like Krud Kutter or TSP substitute, working systematically to eliminate the grease buildup that would otherwise compromise paint adhesion.
Remove and Label Hardware
The first critical step in painting kitchen cabinets without sanding involves removing all hardware from the cabinet doors and drawer faces. We’ll need to systematically detach each piece while maintaining organized storage throughout the process.
Hardware Removal and Organization Protocol:
- Remove all hinges, pulls, and handles from cabinet surfaces before any painting begins
- Leave screws inserted in their original holes to prevent loss during the project timeline
- Label each piece with its source location using tape or markers for expedited reinstallation
- Work in small batches of four pieces to guarantee control over the removal sequence
This methodical approach secures the protection of our hardware investment while creating ideal conditions for paint application. By keeping everything labeled and systematically organized, we’ll eliminate confusion when reassembly time arrives.
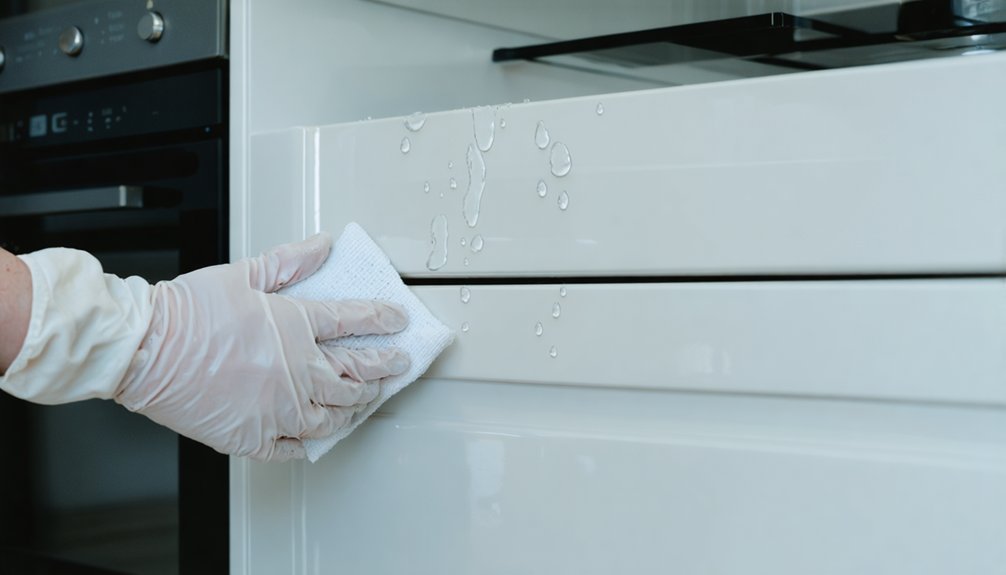
Deep Clean All Surfaces
Deep cleaning all cabinet surfaces establishes the foundation for successful paint adhesion and long-term finish durability. We’ll start by emptying cabinets completely, sorting contents and discarding expired items. Next, we’ll dust all surfaces with a dry microfiber cloth, working from top to bottom to prevent redistribution.
Our deep cleaning techniques involve mixing warm water with mild dish soap—adding white vinegar for greasy buildup. We’ll dampen a lint-free cloth, wring it thoroughly, and wipe all interior and exterior surfaces. For stubborn spots, we’ll apply a baking soda paste using an old toothbrush.
During cabinet surface inspection, we’ll identify damage requiring repair. We’ll rinse with a clean damp cloth, then dry completely with microfiber to prevent moisture damage. Proper drying guarantees optimal paint bonding.
Using Liquid Deglosser to Prep Glossy Surfaces
We’ll now examine liquid deglosser as your primary sanding alternative for cabinet refinishing. This chemical solution removes surface gloss and oils through its alcohol-based formula, creating the rough texture necessary for proper paint adhesion.
Before we begin application, you’ll need to understand both the product’s chemical action and the proper safety protocols required when working with volatile solvents.
How Deglosser Works
When liquid deglosser contacts a glossy surface, its active chemical ingredients penetrate the top finish layer and break down the molecular bonds that create that slick, impenetrable coating. We’re fundamentally watching chemistry transform the surface from smooth to receptive.
Initial penetration – Active ingredients soften the finish into a gummy texture within 5-10 minutes
Surface roughening – Chemical etching creates microscopic pores and imperfections across the entire surface
Adhesion enhancement – The newly-textured profile provides mechanical bonding sites for primer
Permanent alteration – The glossy layer is eliminated, leaving a dull, receptive surface ready for coating
We’ll need proper ventilation and protective equipment—goggles, gloves, and respirators—since we’re working with potent chemicals that deliver professional results.
Application Tips and Techniques
Before we apply deglosser, we must clean our cabinets with a dedicated degreaser like Cabinet Prep to eliminate oils, grime, and surface contaminants that’ll interfere with the chemical etching process. These cabinet preparation best practices guarantee optimal results with painting technique alternatives to traditional sanding methods.
We’ll saturate a coarse, lint-free cloth with deglosser and scrub lightly with the wood grain using controlled strokes. For vertical surfaces, spray-format products prevent drips and maintain consistent coverage. We must work in well-ventilated areas while wearing gloves and goggles to protect against chemical exposure.
After application, we’ll wipe away the broken-down finish with a damp cloth before it dries. The surface should appear dull, indicating proper adhesion preparation. Products like Cabinet Prep require no rinsing, streamlining our workflow while creating the rough texture necessary for durable paint bonding.
Selecting and Applying the Right Primer
Primer selection directly determines whether cabinet paint adheres properly without sanding, making it the most critical decision in the entire refinishing process. Understanding adhesion considerations helps us choose formulations that bond to glossy finishes, laminate, or oil-based paints.
Proper primer selection is the foundation of successful cabinet refinishing, directly impacting long-term paint adhesion and durability.
Our primer application expertise guarantees proper surface preparation through thorough degreasing and minimal deglosser use before coating.
Critical Primer Selection Protocol:
- Oil-based primers for tannin-rich woods requiring superior stain blocking with extended ventilation periods
- Shellac-based options like Zinsser BIN for rapid sealing of lacquered or glossy existing finishes
- Adhesion primers such as KILZ 3 Premium for slick laminate or vinyl surfaces preventing peeling
- Water-based primers offering low VOC levels and quick drying when working with clean, prepped MDF
We apply thin, even coats using quality foam rollers while following manufacturer recoat specifications precisely.
Choosing Quality Cabinet Paints and Application Tools
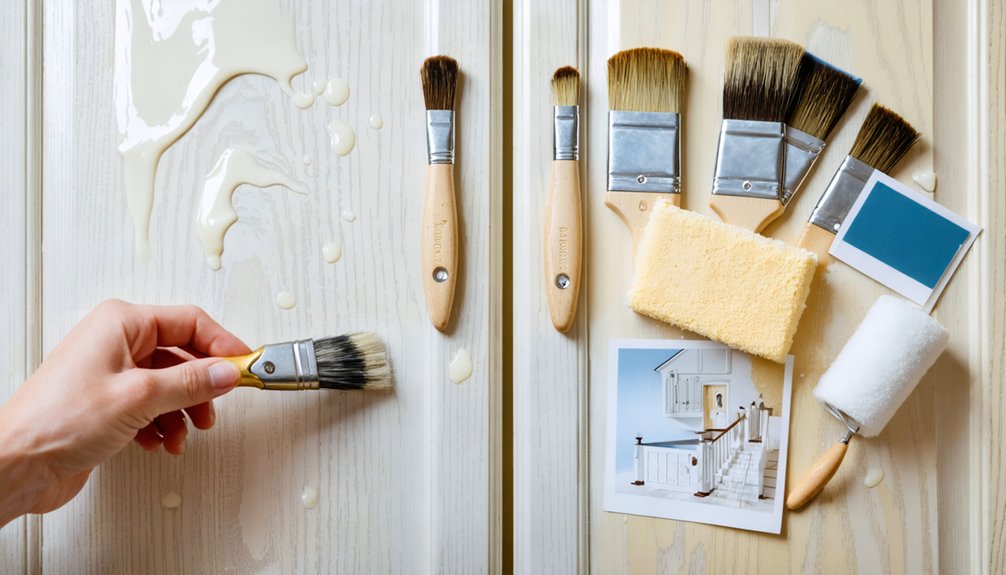
Cabinet paint selection determines 80% of your project’s longevance, with formulation chemistry directly impacting adhesion, cure time, and resistance to kitchen moisture and abrasion. We recommend water-based alkyd hybrids like Benjamin Moore Advance or Wise Owl One Hour Enamel, which cure rapidly while delivering professional-grade durability. General Finishes Milk Paint eliminates primer requirements entirely, adhering directly to prepared surfaces.
For finishing considerations, we’ll need to address sheen selection: semi-gloss provides ideal cleanability for high-touch areas, while matte finishes minimize surface imperfections. Topcoat options include clear water-based sealers applied in three layers for maximum protection. We’ll achieve best results using synthetic bristle brushes for water-based formulations, applying thin coats to prevent brush stroke visibility. INSLX Cabinet Coat effectively levels into wood grain, creating professional surfaces without spray equipment.
Proper Painting Technique for Professional Results
Everything hinges on methodical surface preparation and systematic paint application to achieve factory-grade cabinet finishes without sanding equipment. We’ve compiled expert painting advice that transforms your workspace into a professional-grade operation while maintaining cost effective solutions.
Our Proven Application Sequence:
- Prime lower cabinets first using Zinsser BIN Advanced with roller application for flats and precision brush work for detailed areas—tint primer dark under darker topcoats at no additional charge.
- Label each door before removal to guarantee correct reassembly positioning and eliminate guesswork during reinstallation.
- Apply satin enamel in thin coats to door fronts using systematic roller coverage, followed by brush detailing on edges after initial surfaces cure completely.
- Work section-by-section managing 2-hour application intervals per area, allowing proper drying times between coats for ideal adhesion and durability.
Recommended Products and Materials
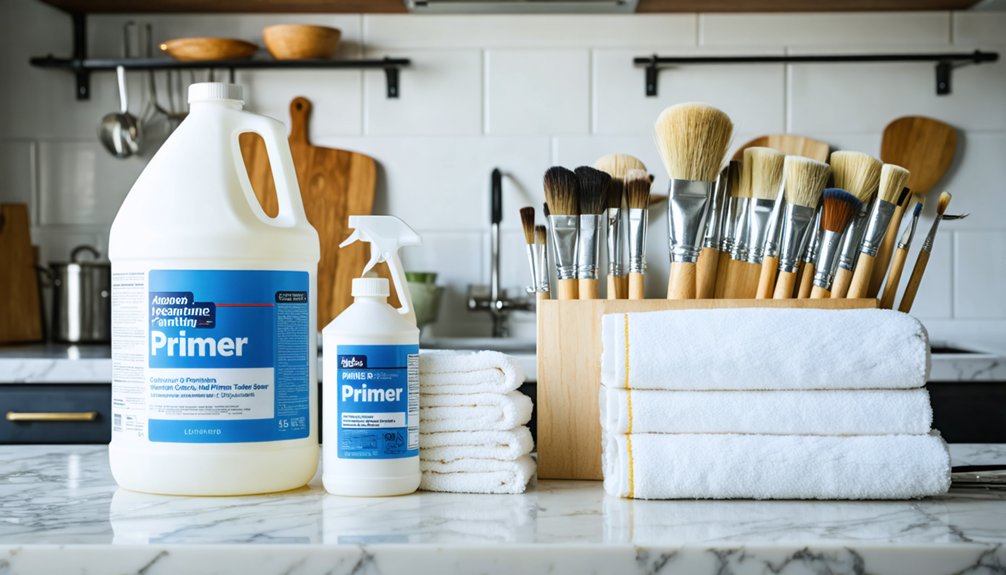
Your painting success depends directly on selecting products engineered for no-sand applications. We’ll need TSP or Krud Kutter for thorough degreasing, followed by liquid deglosser to dull glossy surfaces. For bonding primers, we recommend Zinsser BIN Advanced, which dries in 45 minutes, or Bulls Eye 1-2-3 for superior adhesion. Consider tinting primers darker when using deep paint colors.
Specialty paint benefits include one-step application with products like DecoArt Satin Enamel or Beyond Paint, eliminating multiple prep stages. General Finishes Milk Paint and Chalk Paint grip finished surfaces without primers, saving time while delivering professional results.
For high traffic cabinet maintenance, select durable enamels that withstand frequent cleaning. Gather rollers, quality brushes for edges, clean cloths for chemical applications, and tack cloths for dust removal between coats.
Ensuring Long-Lasting Durability and Finish
Since proper adhesion determines whether your no-sand paint job lasts one year or ten, we’ll focus on three critical phases: surface preparation, application methodology, and cure management.
Adhesion quality directly controls longevity—proper surface prep, application technique, and cure management separate one-year failures from decade-long durability.
Our Four-Point Durability Protocol:
- Deglosser activation – Apply liquid deglosser after cleaning to create mechanical bonding sites on glossy surfaces, preventing future chipping
- High-adhesion primer foundation – Use BIN or Zinsser Bulls Eye 1-2-3 tinted to your topcoat, establishing proper substrate adhesion
- Finishing consistency through technique – Execute brush-and-back-roll application with 320-grit inter-coat sanding for professional coverage
- Proper curing duration compliance – Follow manufacturer timeframes completely; full cure develops chip-resistant hardness essential for handling
We’re achieving professional results by respecting each phase. Water-based formulas cure safely indoors while specialized cabinet paints resist hand oils from frequent use, delivering touch-up-free performance.
Frequently Asked Questions
How Much Does It Cost to Paint Kitchen Cabinets Without Sanding?
We’ll spend $200-$600 for DIY supplies or $2,000-$6,500 professionally when skipping sanding. However, proper degreasing becomes critical for adhesion. This cost-effectiveness and time-saving technique works, but we must follow safety protocols for lasting results together.
Can Painted Cabinets Be Cleaned With Regular Household Cleaners After Curing?
We can safely use mild household cleaners on cured painted cabinets, but we’ll need to avoid harsh chemicals and abrasives. For cleaning painted surfaces and removing dirt from paint, we recommend diluted dish soap with microfiber cloths.
Will Painted Cabinets Show Brush Strokes or Look Unprofessional?
Ironically, they’ll look *more* professional than factory cabinets when we use proper techniques! We’ll avoid visible brush marks and uneven paint application by mastering the tipping method, applying thin coats, and using quality brushes—transforming our kitchen together.
How Long Before I Can Reinstall Hardware and Use Cabinets Normally?
We’ll reinstall hardware after the final coat’s drying time of 24 hours, but we must wait the manufacturer’s full cure duration—typically 7-14 days—before resuming normal cabinet use to guarantee proper paint adhesion and durability.
Can Laminate or Thermofoil Cabinets Be Painted Without Sanding Too?
We can paint both cabinet types without sanding. Laminate texture adhesion requires thorough degreasing and bonding primers. However, thermofoil surface compatibility proves challenging—heat-applied vinyl resists paint adhesion. We’ll need mechanical roughening or specialized bonding products for durability.